Tutorial: How to setup a .NET Minimal API with integration testing using WebApplication Factory and NUnit
-"It's tutorial ó clock!" ⏲
In this tutorial I will share how you can setup an API using less than 20 lines of code (10 if you really squeeze it) using .NET Minimal API. Next we are going to setup an NUnit Test Project and using WebApplicationFactory we will call the API endpoint and parse the resonse as an products array and compare the actual response to an expected json file embedded in our source code.
We have a lot to cover so let's get started! 🤠
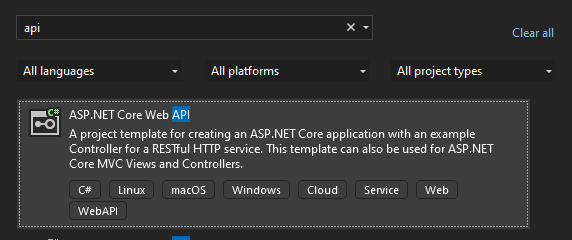
1. Create a Web API
Create a new solution and a project in Visual Studio using the ASP.NET Core Web API Template.
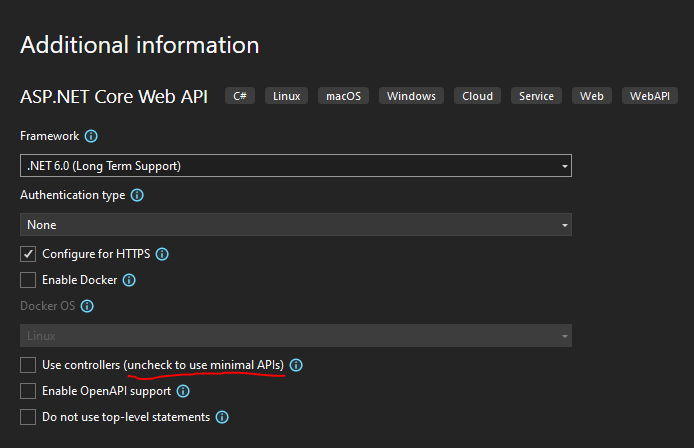
2. Use Minimal API
In the next step of the Visual Studio installer make sure you leave the "Use controllers" checkbox unchecked to use the Minimal API template.
3. Add a products endpoint
When you install the template you will get an example Program.cs file with a WeatherForecast endpoint that looks something like this.
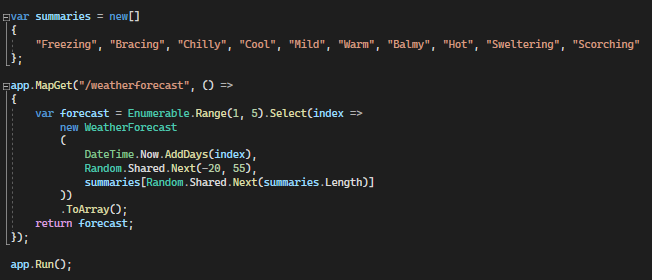
This is not really ideal for us since we want to write some tests for this endpoint and the weather data is totally random. Instead create a Product class and update your Program.cs so it look something like this.
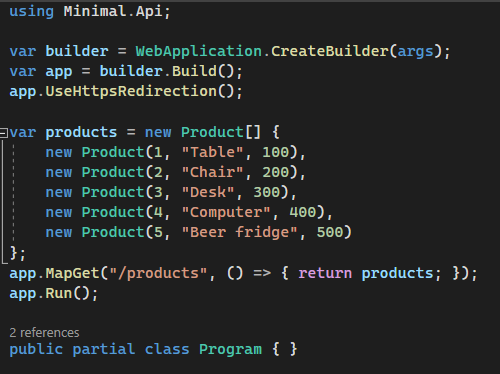
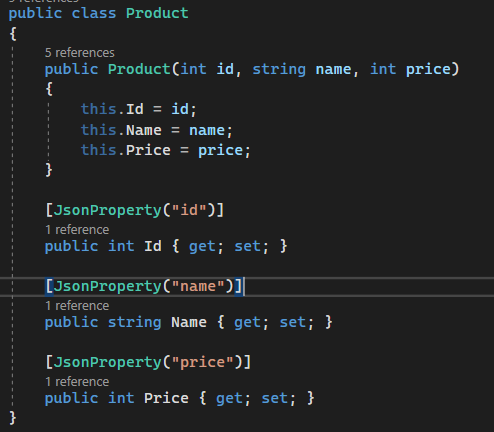
And your Product model should look like this. (relax, source code for this tutorial is in the bottom of this article)
4. Test in browser or Postman
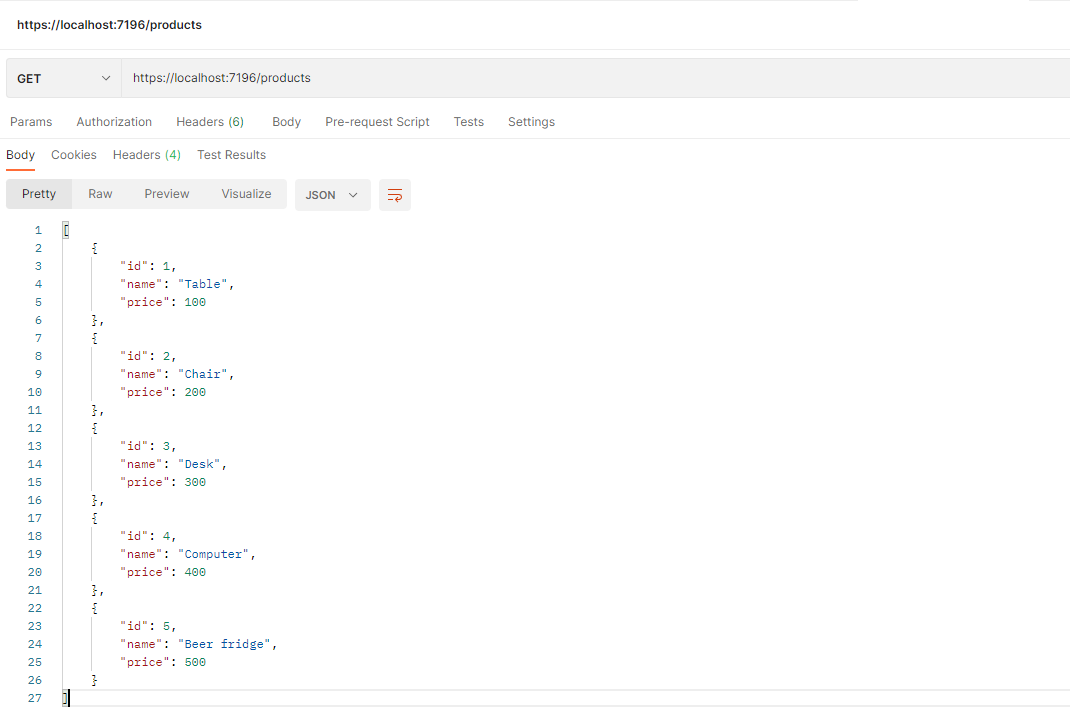
Now spin up your API (F5) and call this endpoint using either the browser or using a tool like Postman Rest Client and you should get a result that looks something like this.
Congratulations!
You have created an API using less than 20 lines of code! 🥳 Let's ship it, right? No wait, let's dive deeper and write some integration tests for this endpoint.
5. Create a Test Project
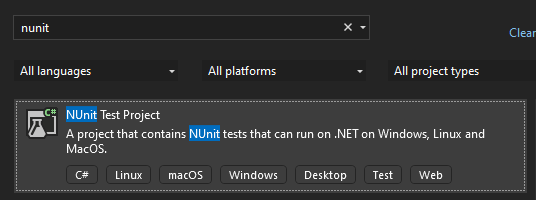
Create a new project in the same solution, only this time using the NUnit Test Project Template.
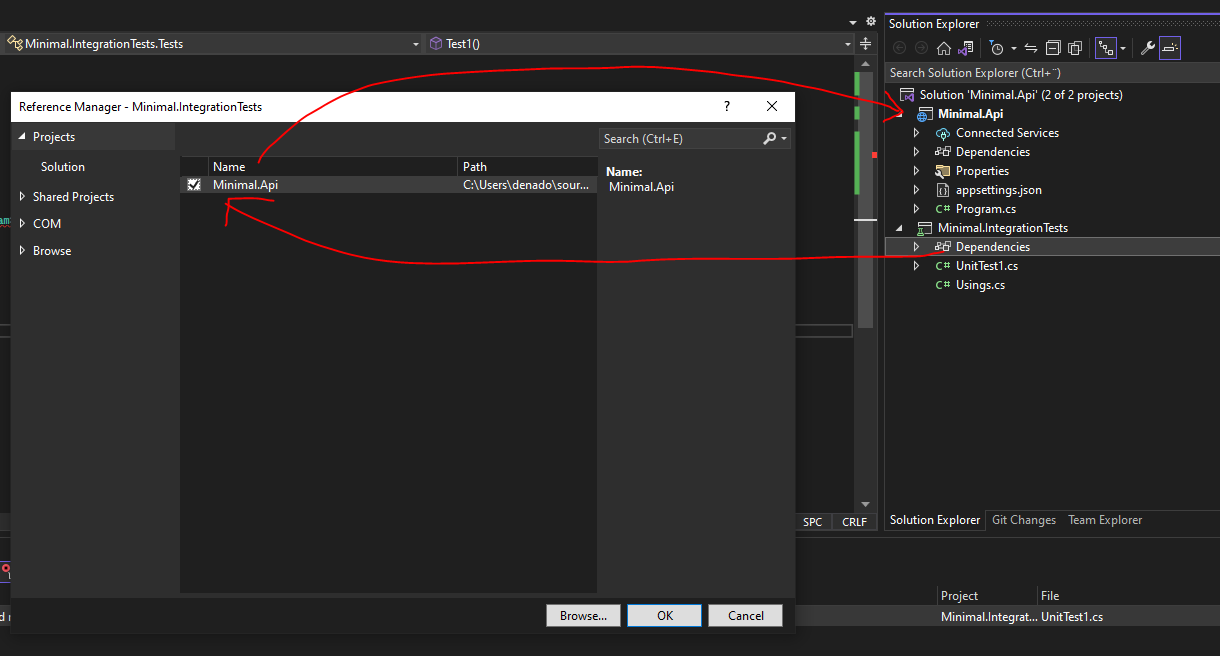
6. Add a reference to the Minimal API project.
In order for our test project to be able to reference code from our API we need to add a reference from the Test Project to the API project.
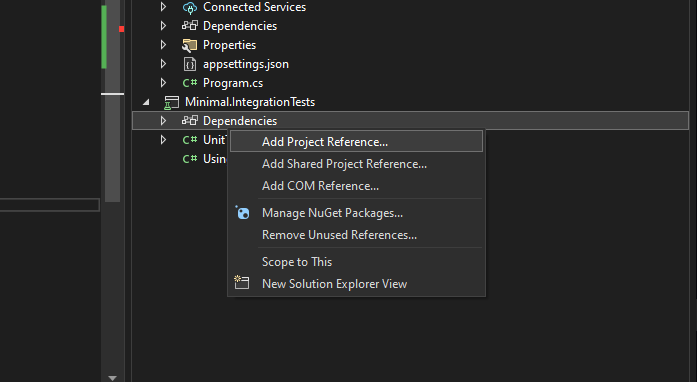
It's important that you don't mix these up and add the references in the wrong direction. You test project should reference your implementation project and your implementation project should never reference your test project,.
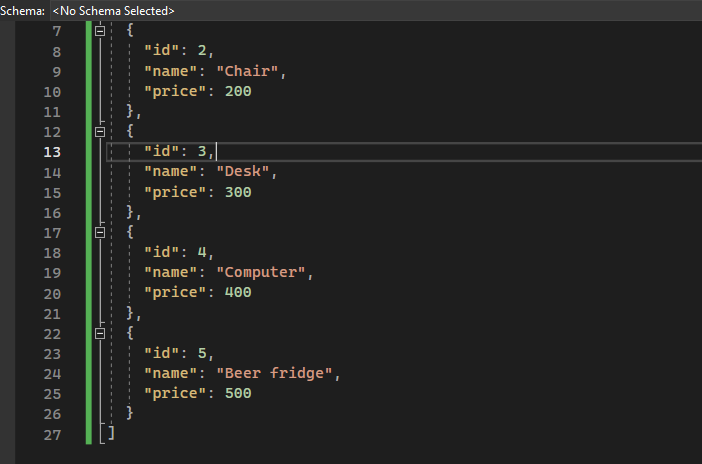
7. Create an expected JSON file
We need a JSON file to validate the output of our API againt, so go back to Postman and copy the Product JSON you got earlier. Next create a expected.json file in your test project and paste it here.
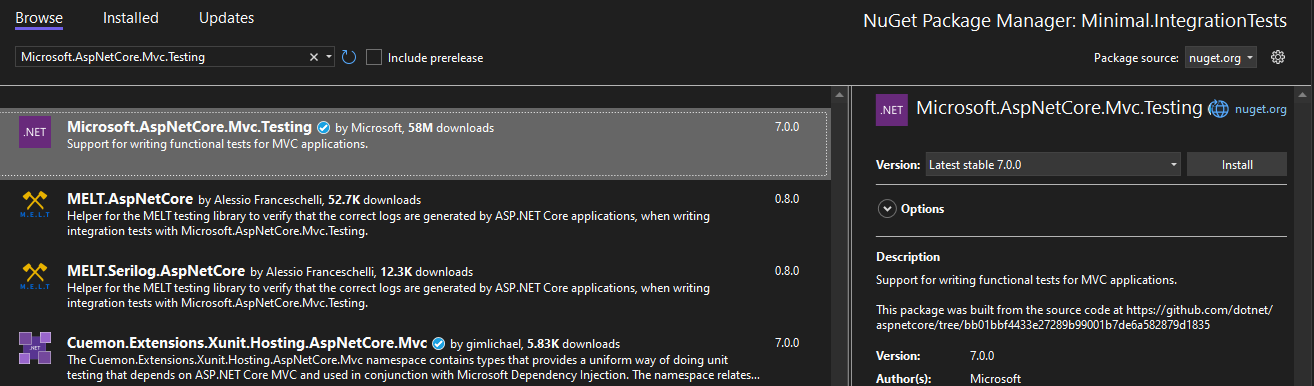
8. Install Microsoft.AspNetCore-
.Mvc.Testing
To be able to use the WebApplicationFactory we need to install the Microsoft.AspNetCore.Mvc.Testing package in our test project.
9. (Optional) Install FluentAssertions
In my test (next step) I want to parse the response as objects and compare them using a helpful assertion called .BeEquivalentTo(). This way I can compare the objects data and ignore the fact that they are two separate instances (more on how in the next section).
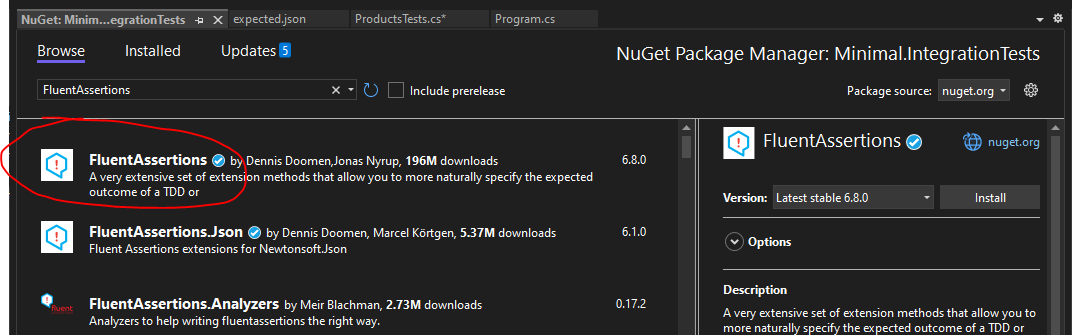
If you don't need this you can skip this part and instead compare the response and file using string comparisons (like in this example) but be aware that this will be a hazzle to maintain once your API and Model grows.
10. Test using WebApplicationFactory
And here you have an example of how to create an HttpClient using the WebApplicationFactory, call the /products endpoint and parse it as an Product array and compare it against our expected JSON file.
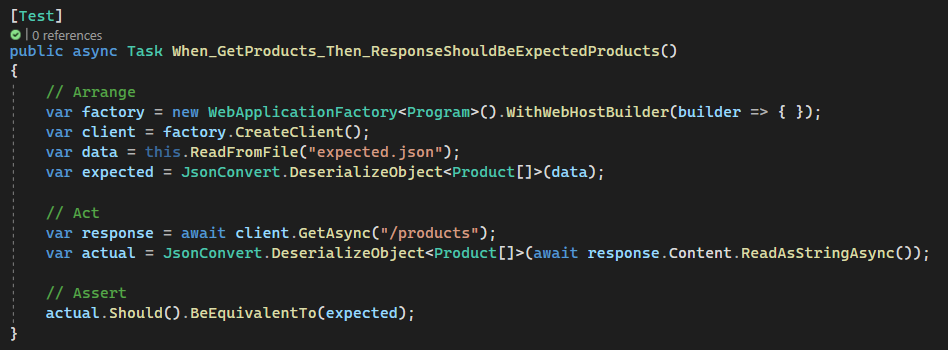
In this example I'm using a method called ReadFromFile that reads the expected JSON file so that we can use this string to parse it as an array.

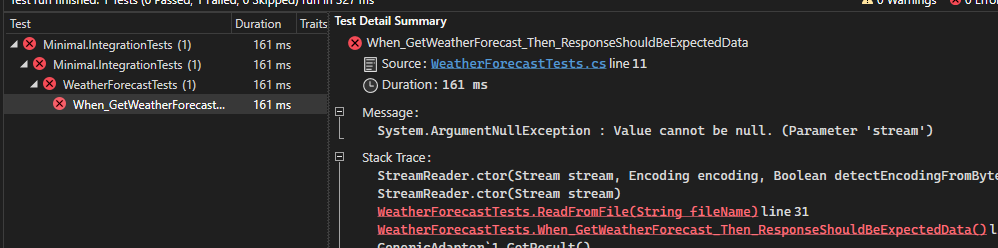
But wait, what's this?
Now if you run this test you will get an errors saying something in the line of: -"Value cannot be null. (Parameter 'stream')"
11. Set JSON file as Embedded Resource
In order for our test to be able to read the content of this file we need to set the build action for this file as "Embedded resource".
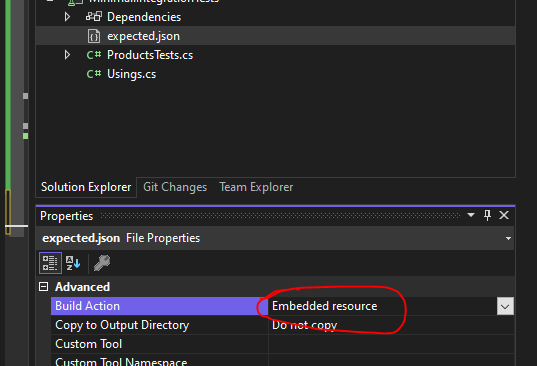
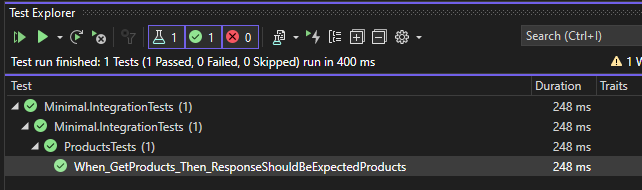
Now if we run this test once again we should get a happy output. 💚
Summary:
In this tutorial style article we created a Minimal API returning a list of products. Next we created an NUnit Test Project and using .NET WebApplicationFactory we will called the API endpoint and parsed the resonse to compare against an expected output from an embedded JSON file. Hope you found it helpful. And agin, all the source code can be found here:
And if you want to read more example's of how to use the WebApplicationFactory see this previous article.
Cheers friends! ❤️