Getting started with Snapshot Testing using NUnit and Snapper

Snapshot testing is a valuable technique for testing software applications. Using this technique we can capture the state of an application at a specific point in time and compare it to a previously recorded state, known as a snapshot.
In this blog post, I'll cover how to get started with snapshot testing using NUnit and Snapper, and why snapshot tests can be useful in your applications.
Get started with NUnit and Snapper:
To get started with snapshot testing, you will need to install NUnit, which is an open-source testing framework for .NET, and Snapper which is a snapshot testing tool for C#.
-
Create a new project with Visual Studio NUnit Test Template.

-
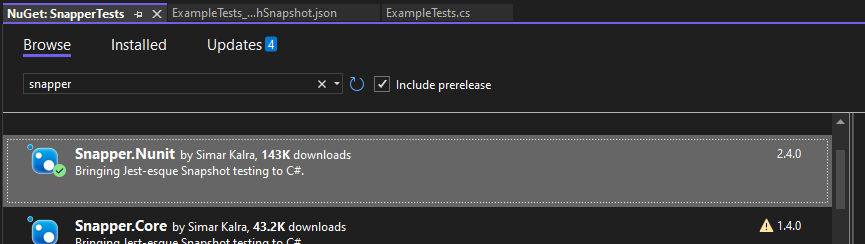
Next you install the NUnit.Snapper packages.
-
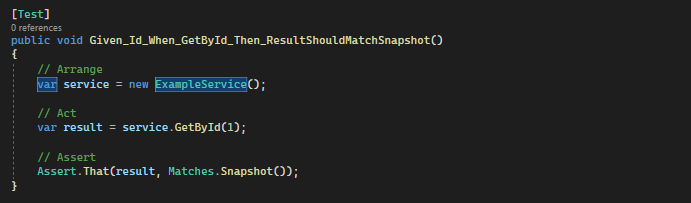
Create a class for your snapshot tests and write a test method for your snapshot and decorate it with the [Test] attribute.
-
In your test method, use Assert.That(result, Matches.Snapshot()) (or .ShouldMatchSnapshot() if you prefer fluent assertions) to capture a snapshot of your application.
-
Run the test and a generated snapshot will be saved to a file.

-
If you make changes to your application, re-run the test, and Snapper will compare the new state of your application to the previously recorded snapshot. If you make such changes that the output model would change, the test will fail.
- If you actually do want to make changes to the output, simply delete the snapshot file and re-run the test. Or alternatively, add the [UpdateSnapshots] attribute on your test and it will override the previously created snapshot.
(Make sure you don't forget to remove the [UpdateSnapshots] attribute otherwise it will just generate new snapshots every time which will make your test pointless.)
Why do we need Snapshot Testing?
Snapshot testing can be useful for several reasons:
-
It captures the state of an application at a specific point in time, making it easier to detect unwanted breaking changes. In other words, it ensures that changes made to the application do not break existing functionality.
-
It eliminates the need for manual testing and reduces the time spent on maintenance by allowing developers to focus on the logic of the application rather than writing and updating assertions.
Conclusion:
Snapshot testing is a valuable technique for testing software applications, and by using NUnit and Snapper, you can quickly implement snapshot testing in your projects with almost zero maintenance. With its ability to capture the state of an application and detect changes it's a great tool for improving the quality of your applications.
If you want to read more about another technique for avoiding unwanted breaking changes, have a look at this related blog post:
Cheers friends! ❤️