Get started with OpenAI in Azure AI Studio
A few months ago, at the Microsoft Build 2024 Developers Conference in Seattle, Azure AI Studio was made generally available after being in preview since November 2023.
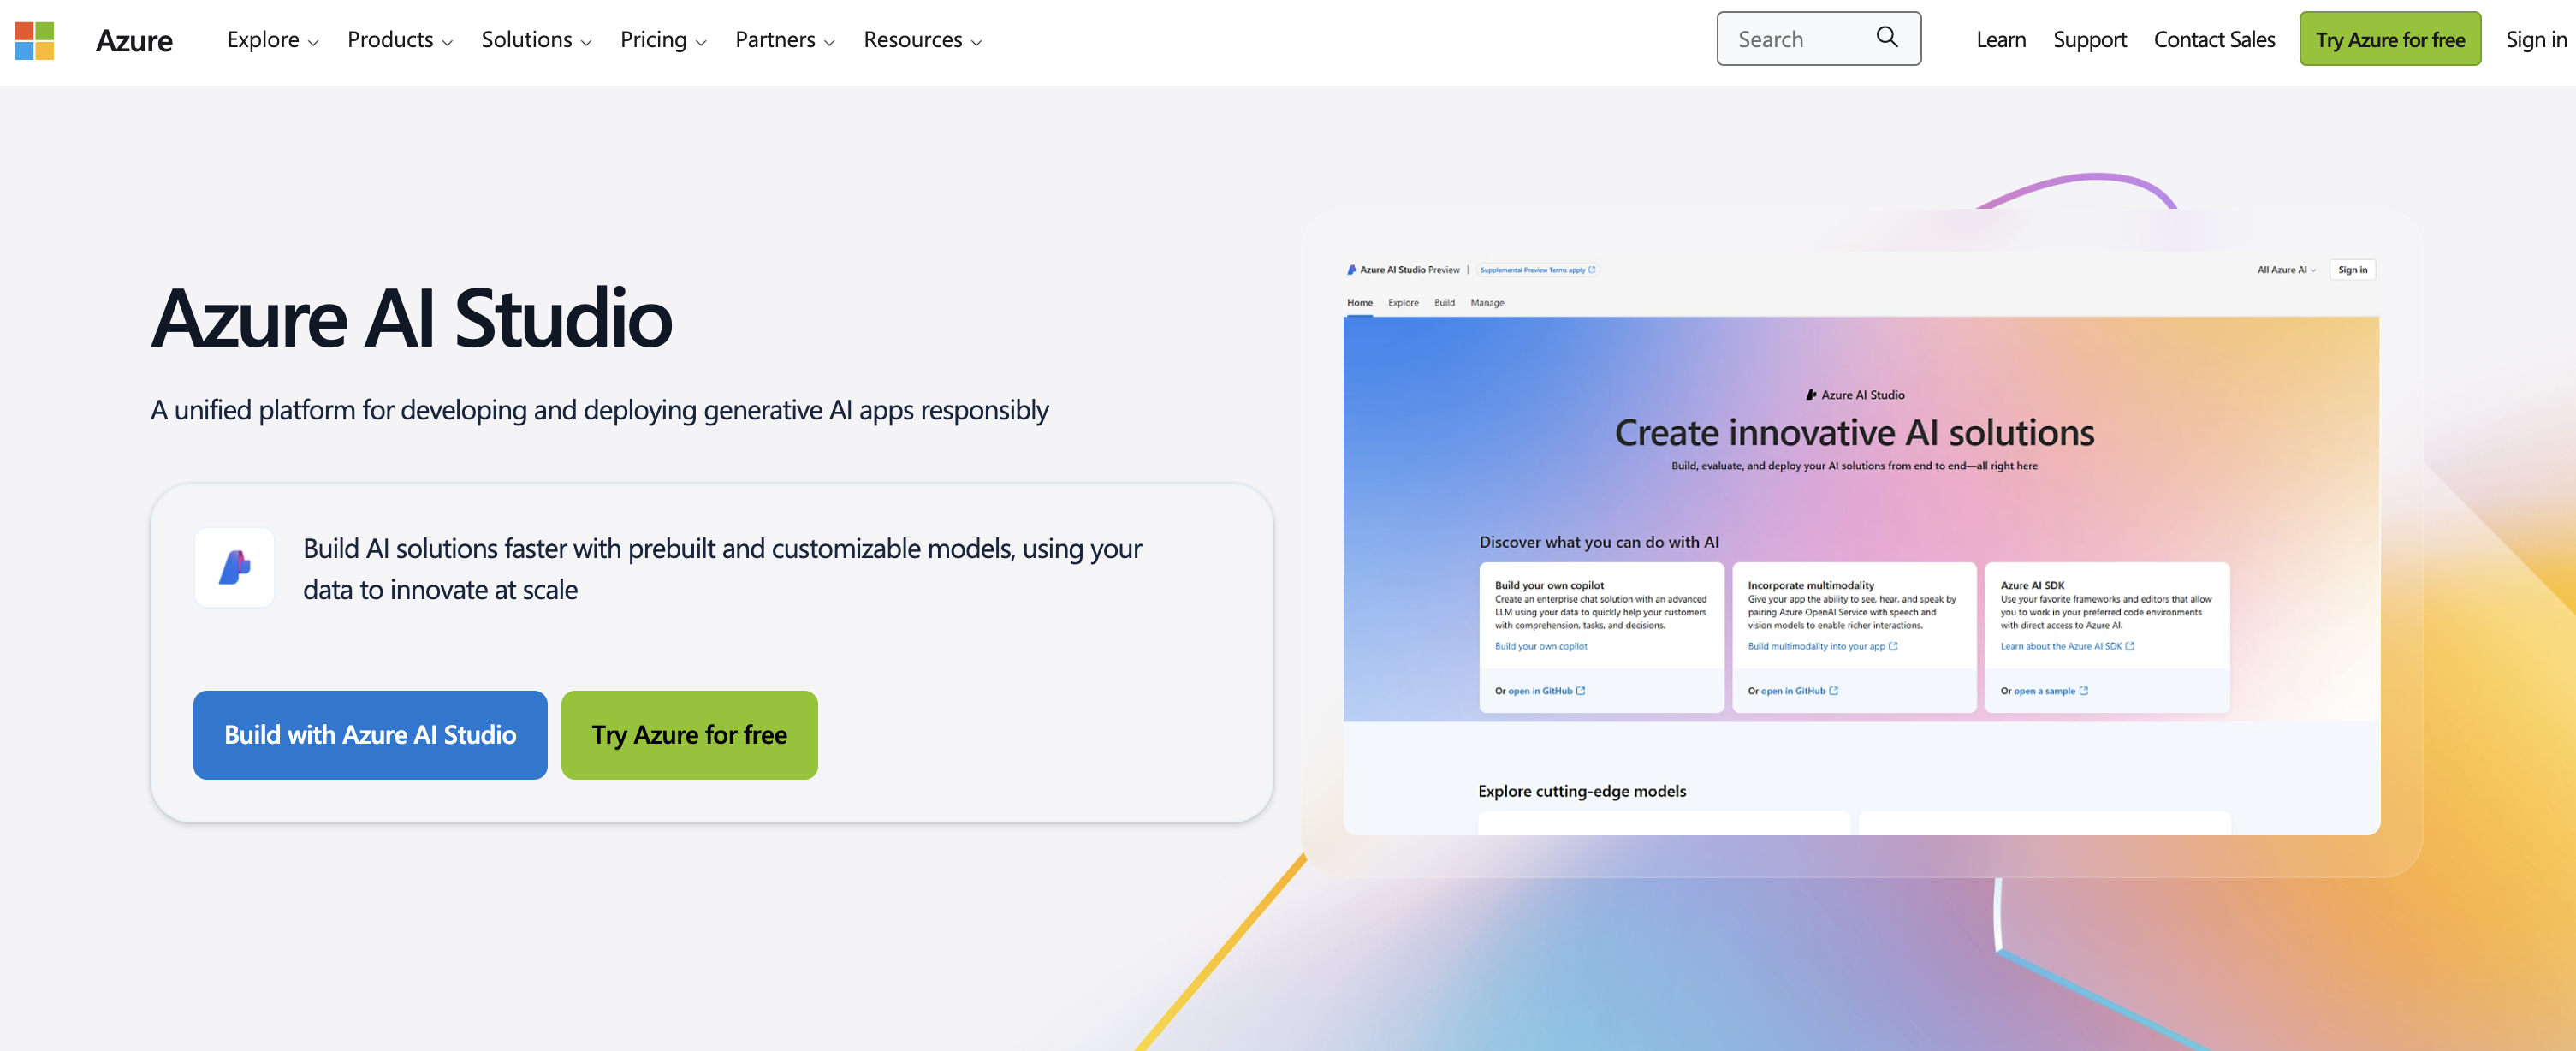
A unified platform for developing and deploying generative AI apps responsibly
Azure AI Studio is an all-in-one AI platform for building, evaluating and deploying generative AI solutions and custom copilots. It’s sometimes referred to as a MaaS (Models as a Service) since it lets you deploy, host and browse available machine learning models that can be accessed from the Azure OpenAI API:s and used in your implementations.
One of many exciting features is that you can also add your own datasets and train models on your custom data from within the Azure AI Studio platform, without a single piece of code, which is well in line with Microsoft other ongoing initiatives of making AI more available to the public.
I've been experimenting with the preview version of Azure AI Studio for about six months now and I must say I'm more than amazed by how accessible Microsoft has made AI/ML and how well integrated it is already with other Azure services that you want to enhance with AI capabilities.
In this blog post I will guide you through getting started with Azure AI Studio and demonstrate how to send a prompt to a GPT model using the OpenAI API.
Set up Azure AI Studio ⚙️
1. Create an Azure AI service:
In the Azure portal, create a new Azure AI service. This will give you your API endpoints as well as your API keys. Next, go to the Azure AI Studio.
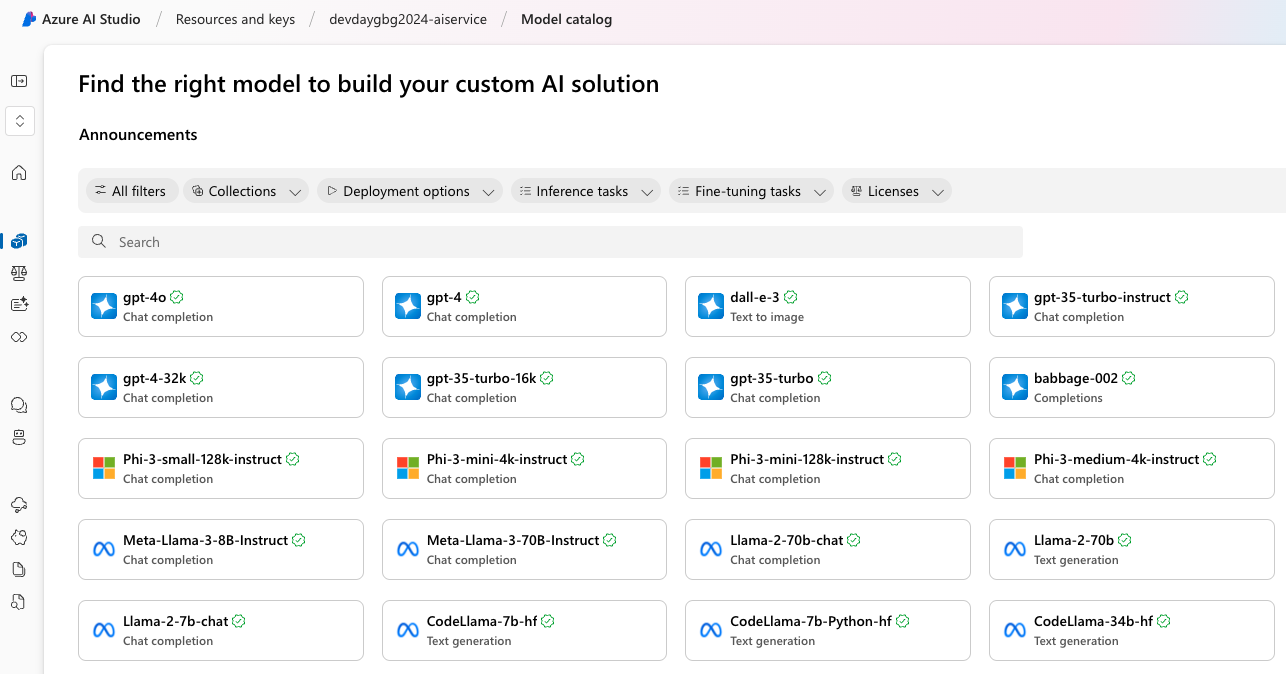
2. Create a Deployment:
In Azure AI Studio, select Deployment and Create Deployment. This is where you select which model you wish to use with the OpenAI API. In this example I select gpt-35-turbo and Confirm.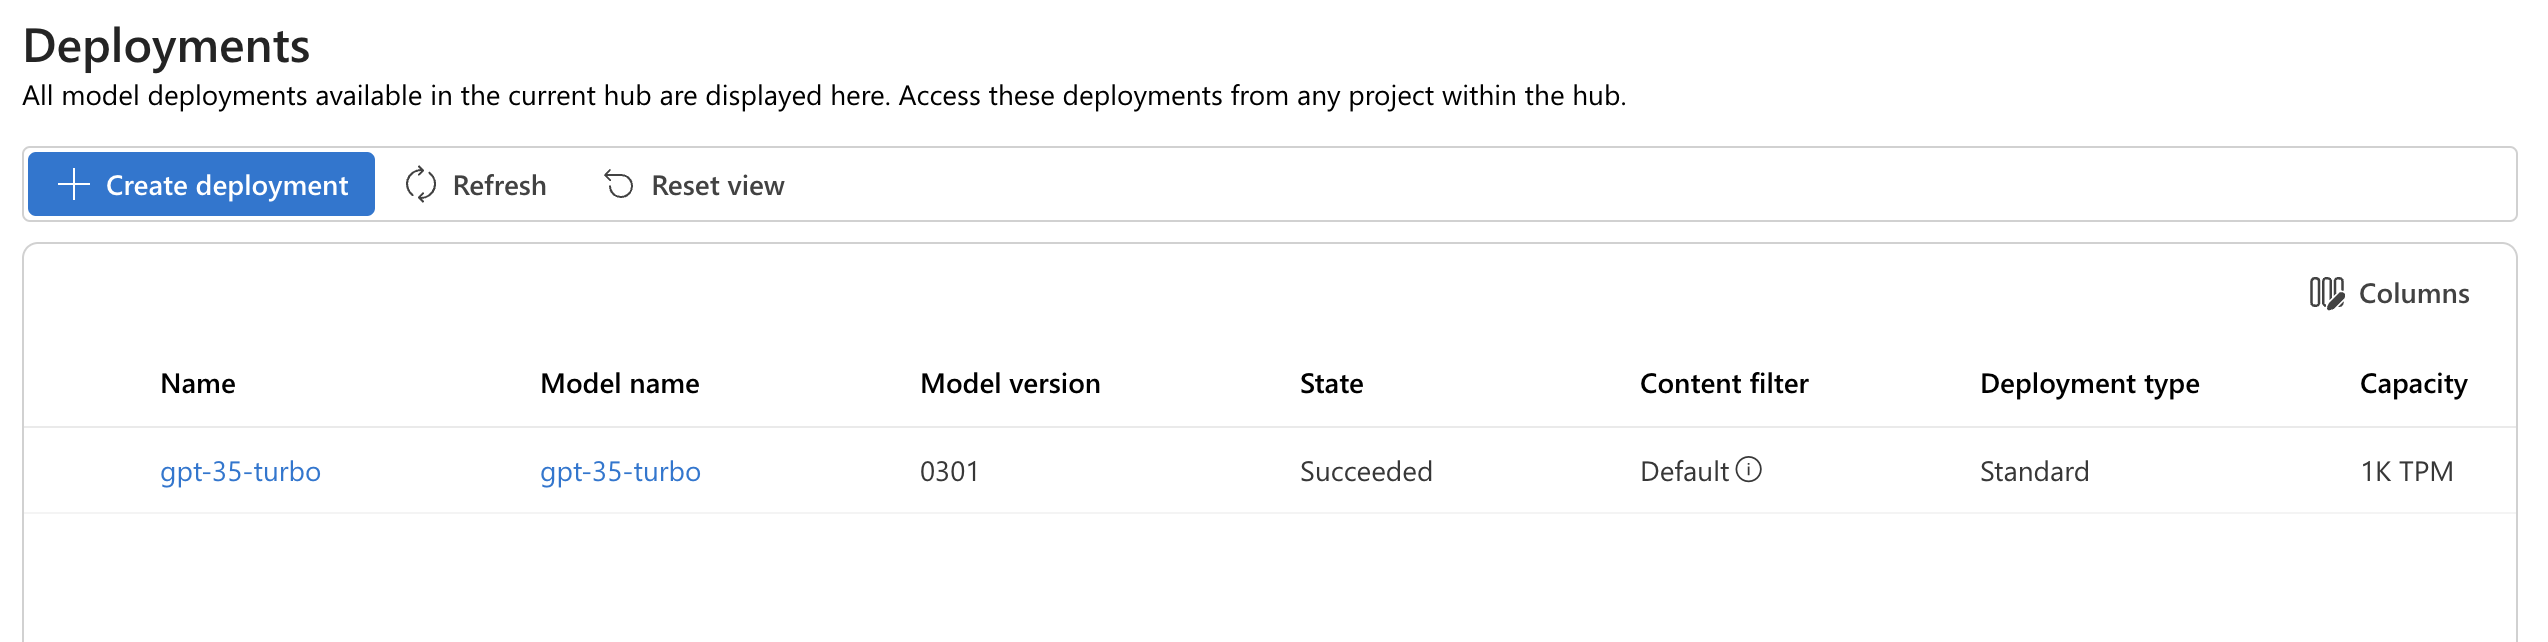
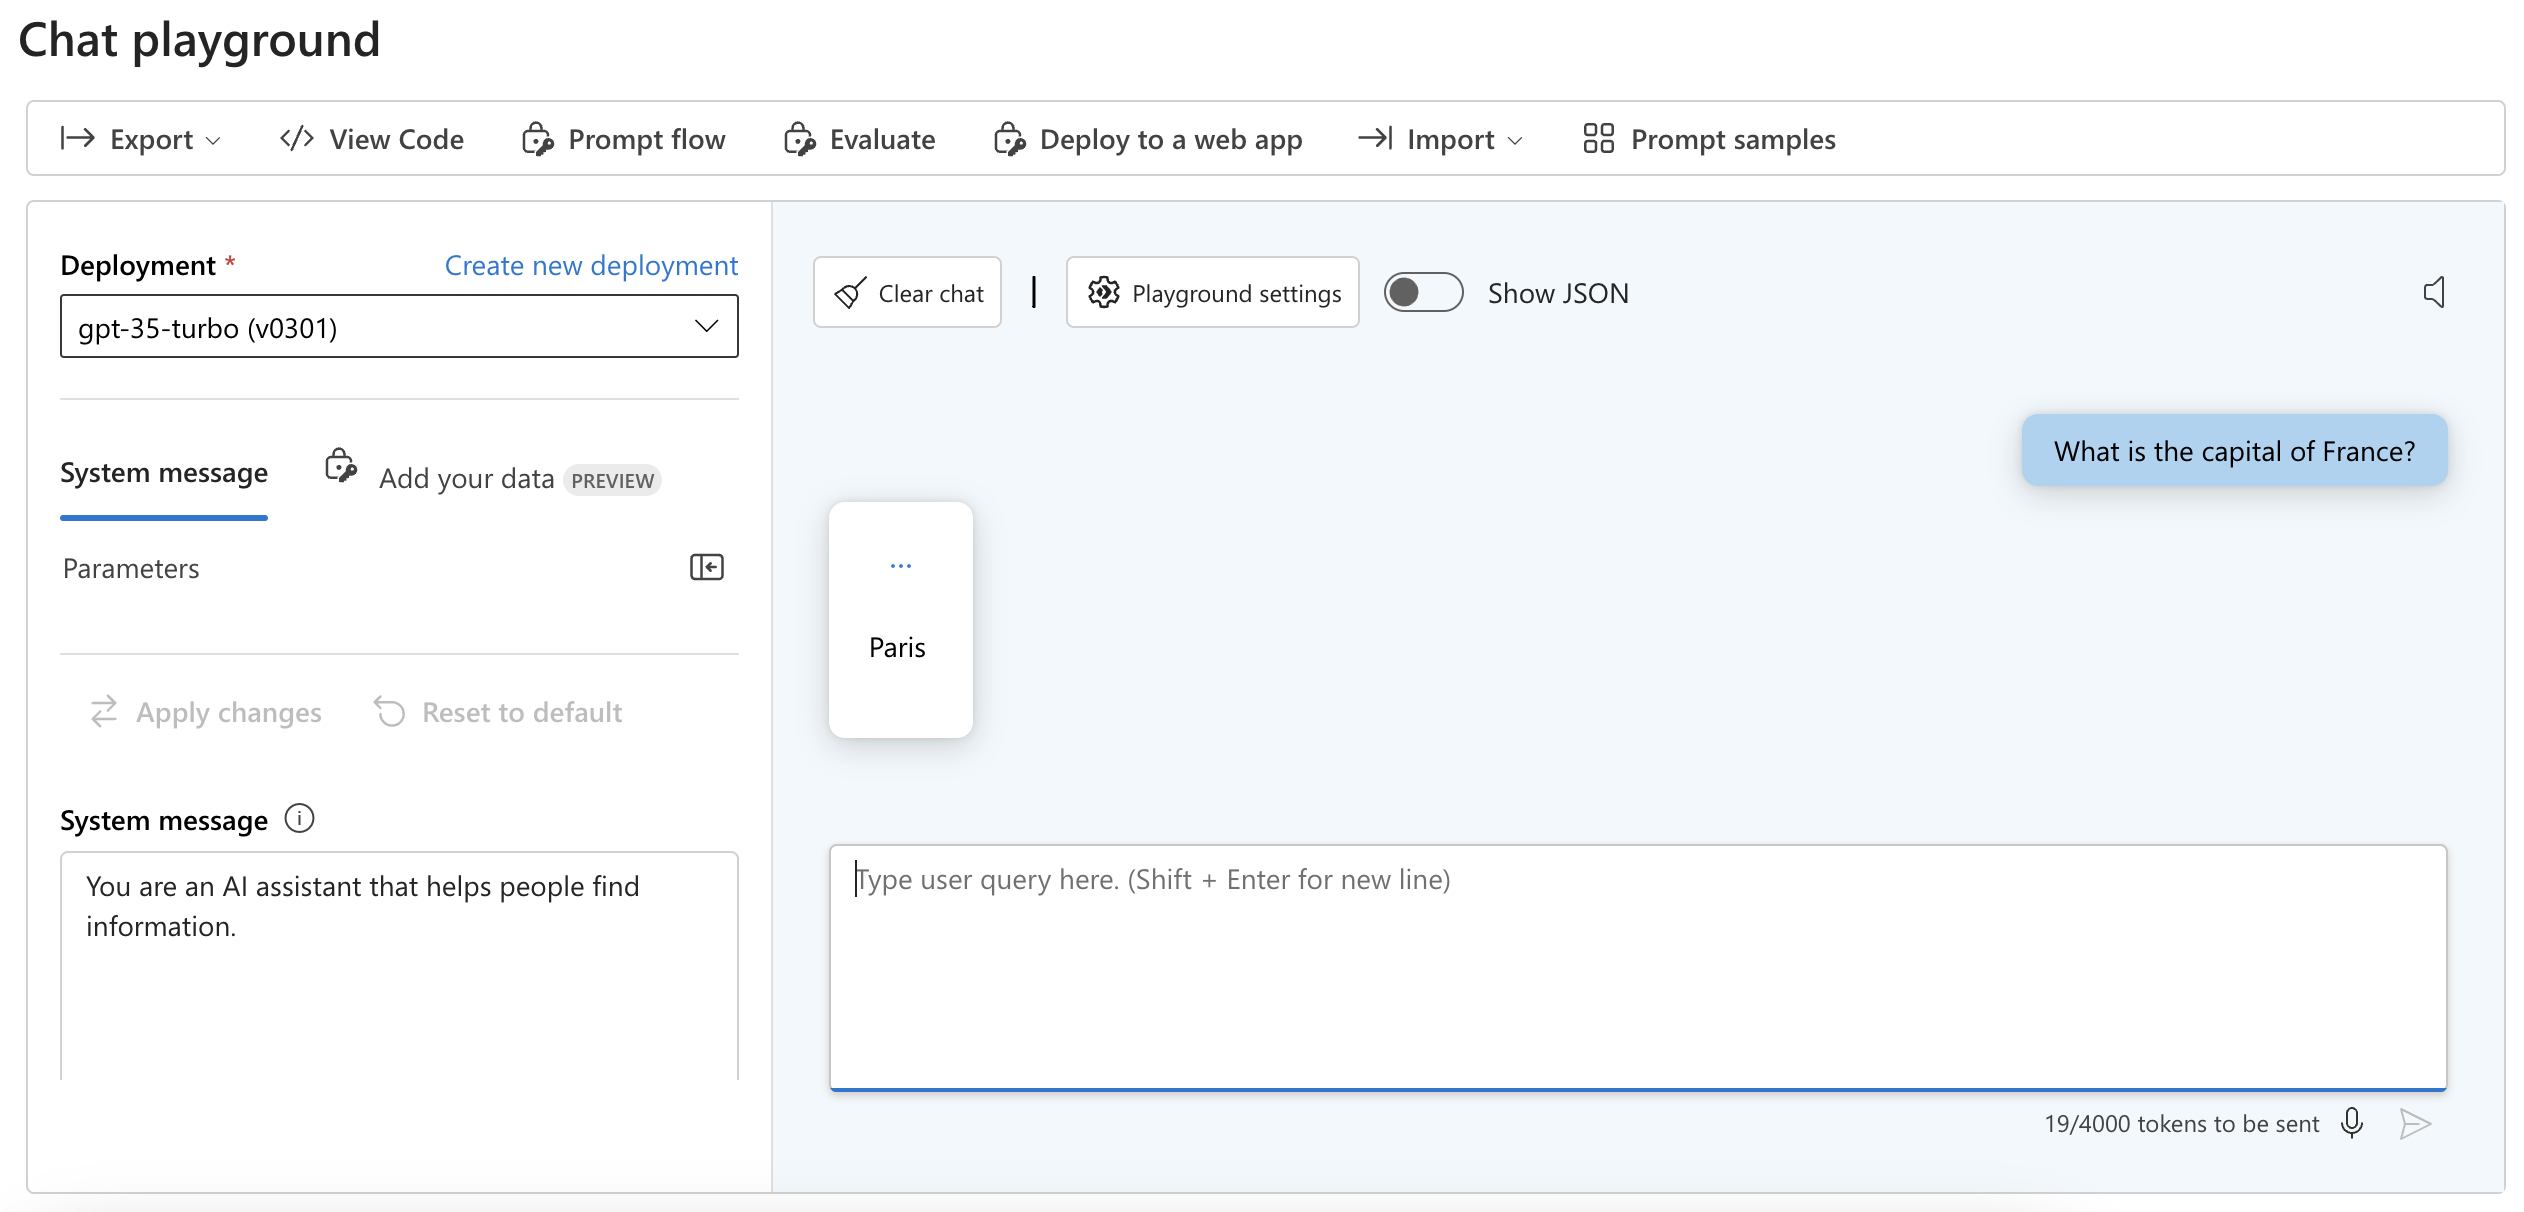
3. Test in Playground:
Now you can test you API using the Chat playground. In case you didn't know, Paris is the capital of France. 😉
Let´s get coding 👩🏼💻
1. Create .NET application:
Create a new console application using:
dotnet new console
Also make sure you add the required Azure OpenAI nuget package:
dotnet add package Azure.AI.OpenAI --prerelease
2. Add code snippet:
In the Program.cs add these 12 lines of code. This code demonstrates how to send a prompt to the OpenAI API and receive a response.
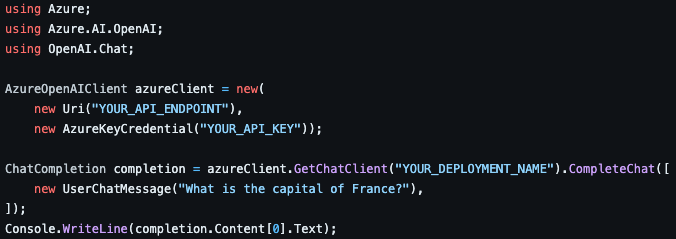
Make sure you replace YOUR_API_KEY, YOUR_API_ENDPOINT and YOUR_DEPLOYMENT_NAME with your actual values.
Congratulations! 🥳
By following these steps, you have successfully integrated the OpenAI API with Azure AI Studio with your model of preferrence and created a simple .NET application that sends a prompt and receives a response. Now you can go ahead and explore and build more complex and powerful AI-driven applications with the help of Azure AI Studio.
Cheers friends! ❤️