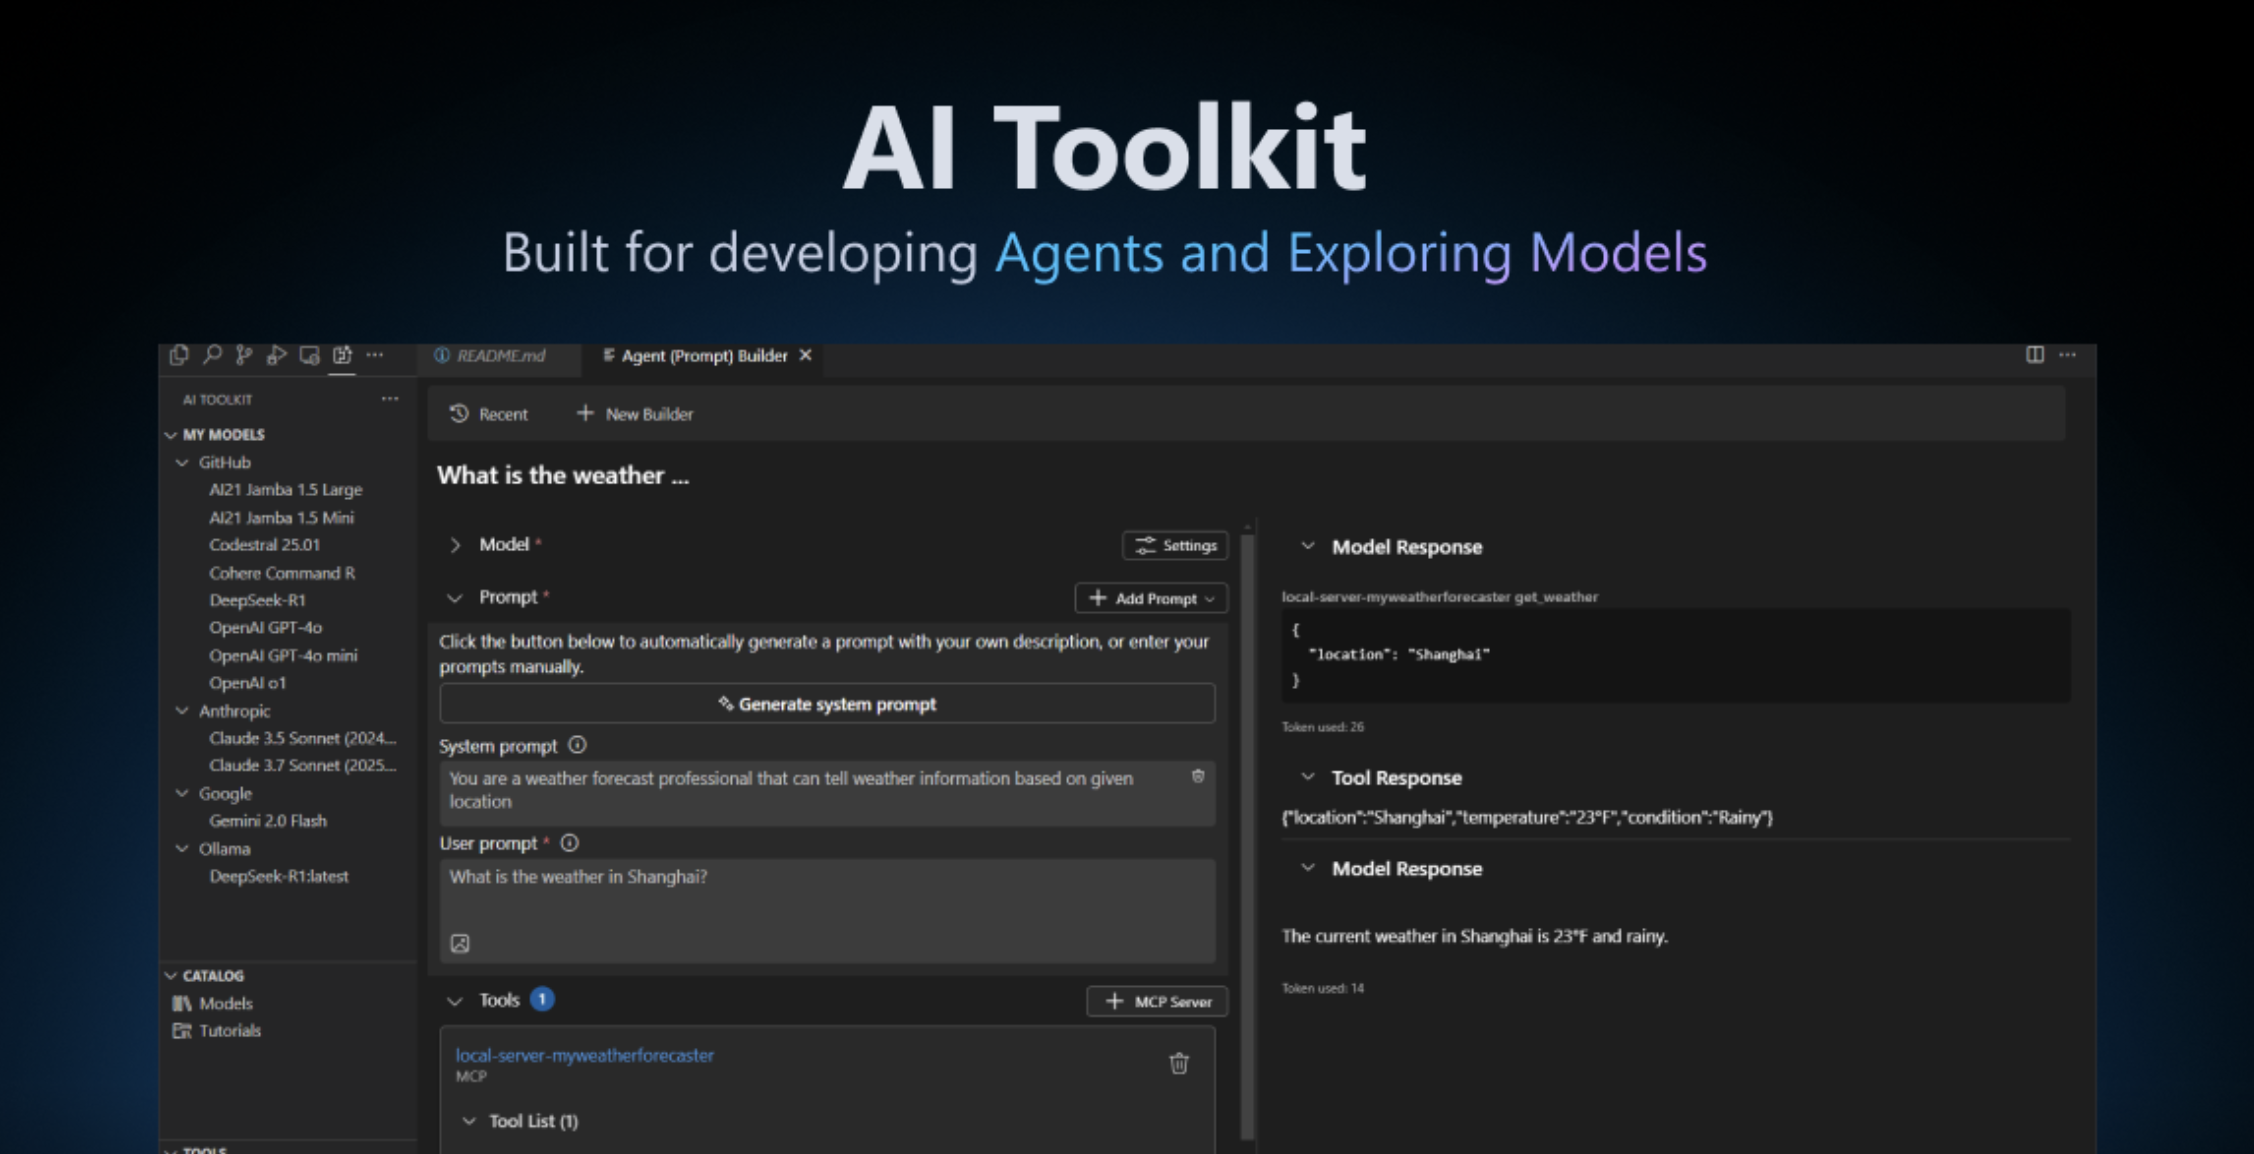
How to setup AI Toolkit with Foundry Local in Visual Studio Code
In a recent article, I covered how to set up Foundry Local to run on your own local machine to access it from your terminal.
In a follow-up article I also covered how to give your local model a friendly user-interface using Open-WebUI.
Now, let's take the next logical step and bring your local AI model development directly into the place where we developers spend most of our time: Visual Studio Code.
The official Foundry Local documentation mentions that it's compatible with the AI Toolkit for Visual Studio Code, but at the moment, the "how-to" part is missing. This is understandable since Foundry Local is still in preview and the documentation is still evolving. But since I got it working, I wanted to share my steps.
Before we start
I'll assume you have:
- Visual Studio Code installed.
- Foundry Local installed.
- You should have a model being served via a localhost:PORT as described in this article.
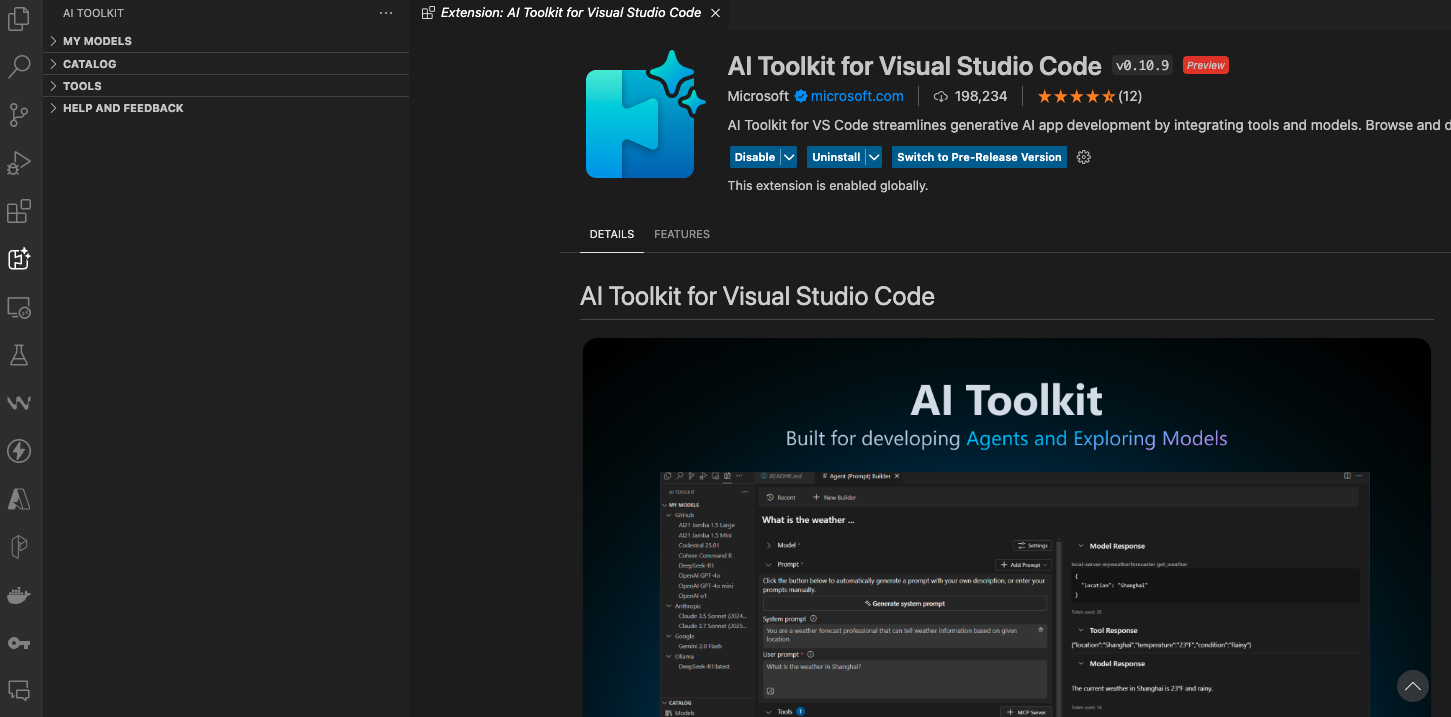
Step 1: Install AI Toolkit in VS Code
Now, let's install AI Toolkit in Visual Studio Code.
- Go to the Extensions view from the sidebar (or press
Ctrl/command+Shift+X). - Search for "AI Toolkit for Visual Studio Code" and click install.
You should now see a new AI Toolkit icon in the activity bar on the left.
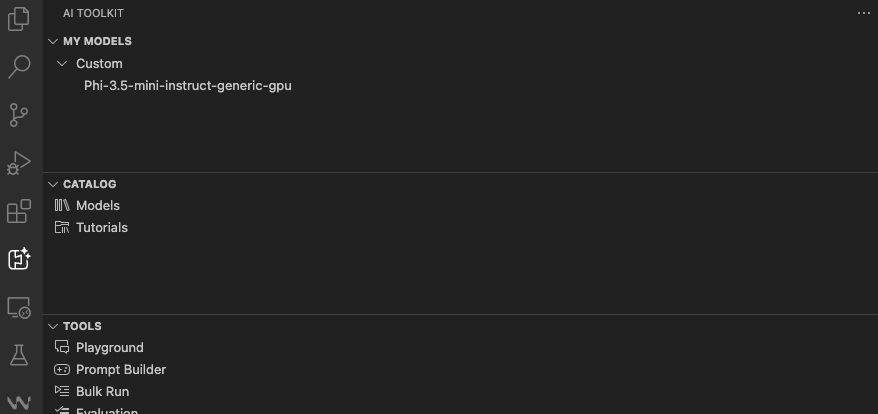
Step 2: Add a Custom Model in AI Toolkit
Now we tell AI Toolkit about our locally running Foundry model.
- Click on the AI Toolkit icon in the activity bar.
- In the sidebar, you'll see a panel named My Models.
- Click the "Add model for remote interface" button.
- From the dropdown, select "Add a custom model".
- In the input box that appears, enter the URL for your Foundry Local service, followed by the specific chat completions path:
/v1/chat/completions. So for example: http://localhost:8000/v1/chat/completions. - An input box will ask for the Model name. Enter the name of the model you are serving with Foundry. For example:
phi3-mini-instructorPhi-3.5-mini-instruct-generic-gpu. - Next, it will ask for Authentication headers. If your model doesn't require any special authentication (which is the default for a local Foundry setup), you can simply leave this blank and press Enter.
You should now see your local model appear under the "My Models" list in the AI Toolkit sidebar.
Step 3: Open model in Playground
Now for the fun part. You can interact with your completely local model right inside Visual Studio Code.
- Right-click on your newly added model in the sidebar.
- You'll have the option to Open in Playground.
- This opens a new tab that gives you a full chat interface.
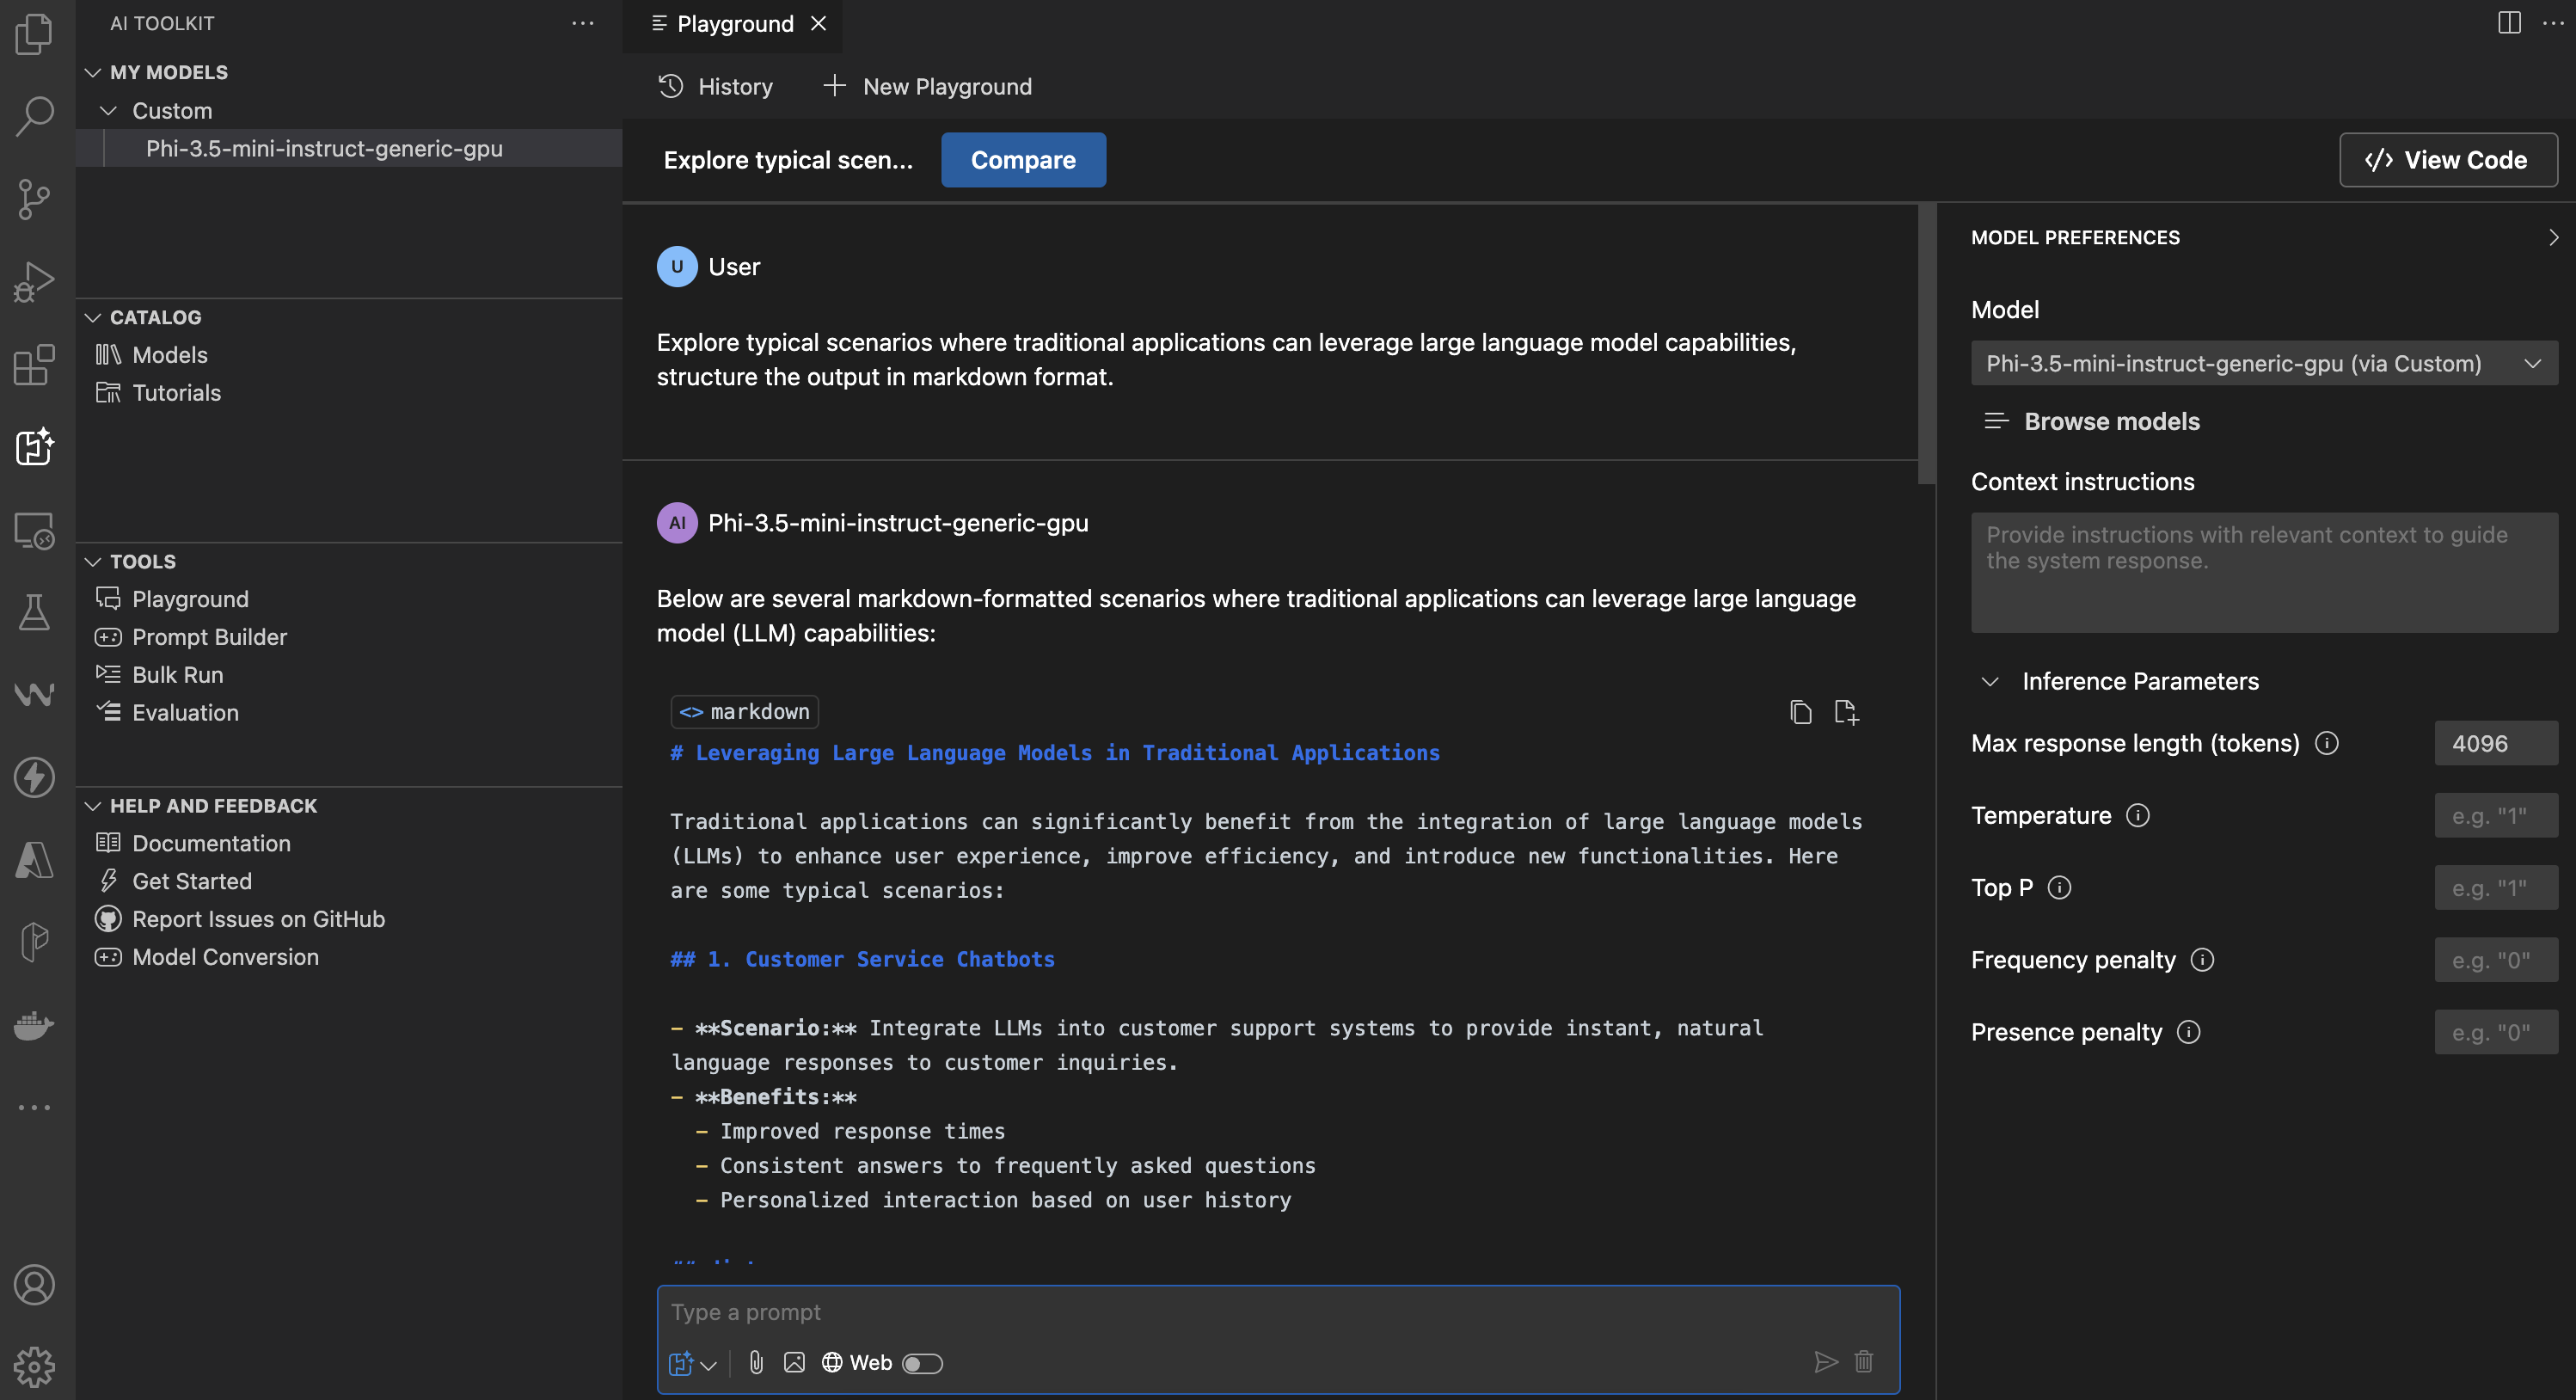
Now, you can:
- Chat directly with your model.
- Tweak parameters like
temperatureandmax tokensto see how it affects the output. - Set System Instructions to define the model's persona or give it context for the conversation.
All of this is happening 100% locally, with zero data leaving your machine, right inside your development environment.
Summary
By using the AI Toolkit in Visual Studio Code, we've created a perfect environment for testing and experimenting with local models, in our favourite code editor, without context switching. This setup is perfect for quickly trying out prompts, generating code snippets all with the privacy and speed of a local setup.
Cheers! 💖