Adding an API Security Definition and Requirement using Swagger UI

In this tutorial I will cover how you can setup an API with Swagger and then add security definition and requirement to pass an api token as an http header with every API request. Lets get to it!
Creating a Web API:
- Create a new project in Visual Studio using the ASP.NET Core Web API template.
- After selecting a name for your project and selecting Next, make sure you tick the checkbox for "Enable OpenAPI support" which will setup your project using Swagger.
- For this example I'm going to use the Minimal API (see related blogpost for setup instructions) but you can use controllers with this solution if you want to. Leave all other fields as default and select Create.
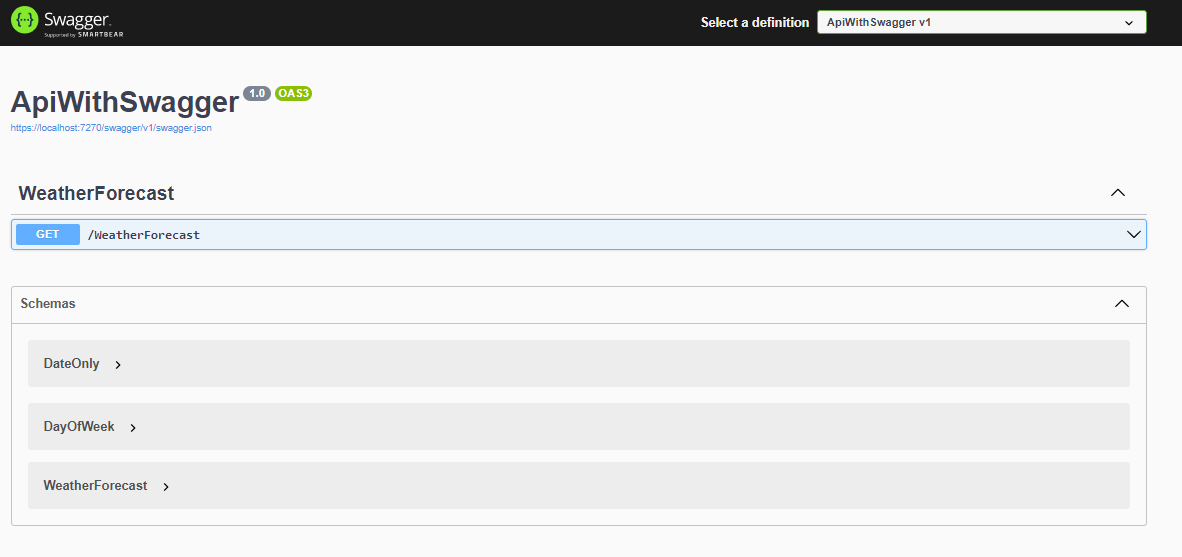
- You now have a standard WebApi project with Swagger UI and the default WeatherForecast endpoints as demonstrated here:
Adding security definitions and requirements:
- In your Program.cs, modify the .AddSwaggerGen() and replace it with the following snippet:
builder.Services.AddSwaggerGen(options =>
Once you add this you will get this Authorize button in the Swagger UI where you can fill in a token.
{
options.AddSecurityDefinition("Token", new OpenApiSecurityScheme
{
Description = "Enter a valid token in the text input below.",
Name = "x-token",
In = ParameterLocation.Header,
});
});
This is the default Authorization type (ApiKey) and you can select where this parameter will be added like Cookie, Querystring or in this case a Header which will be demonstraded later.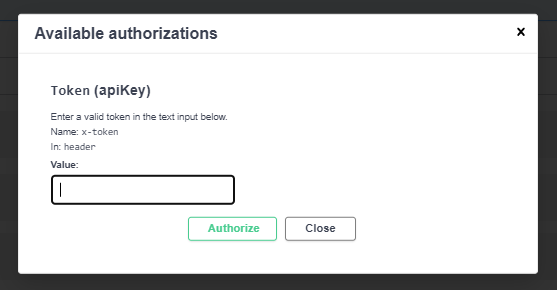
There are several other Authorization types to choose from like OAuth2, OpenIdConnect etc and this of course depends on your authorization setup. - At the moment, this wont really do anything other than opening up the Authorize UI. You also need to add a security requirement which is done by altering the AddSwaggerGen using this snippet:
options.AddSecurityRequirement(new OpenApiSecurityRequirement { { new OpenApiSecurityScheme { Reference = new OpenApiReference { Id = "Token", Type = ReferenceType.SecurityScheme } }, new List<string>() } }); - Now when you reload your application you'll first notice that your endpoints now has this little Icon indicating that you haven't added an API token yet.
 Once you add a token with the Authorize button you can execute this endpoint and you'll notice that the provided token will be passed with every request as a header.
Then it's up to you to consume this token in your API and validate it against whatever security mechanism you're using. However there are one more thing you might want.. - By default you'll need to provide this token every time you load the Swagger UI and if you refresh this page the token will be gone. This can be a bit frustrating but can be solved by altering the app.UseSwaggerUI (a few rows down in your Program.cs) and pass in this options:
app.UseSwaggerUI(options => options.EnablePersistAuthorization());
Now your token will be saved as a cookie and you wont have to fill it in every time you load this page:
That's it, that's all! ✅
Cheers friends, and happy holidays! 🎅