Tutorial: How to get started with .NET Aspire & Umbraco 13

.NET Aspire, the latest iteration in the .NET family, offers a modular, high-performance framework for building web applications. Before we begin this tutorial, familiarise yourself with .NET Aspire by visiting the official .NET Aspire documentation or read this amazing blog post by Glenn Condron called Introducing .NET Aspire: Simplifying Cloud-Native Development with .NET 8.
Prerequisite:
Step 1: Creating a .NET Aspire Application
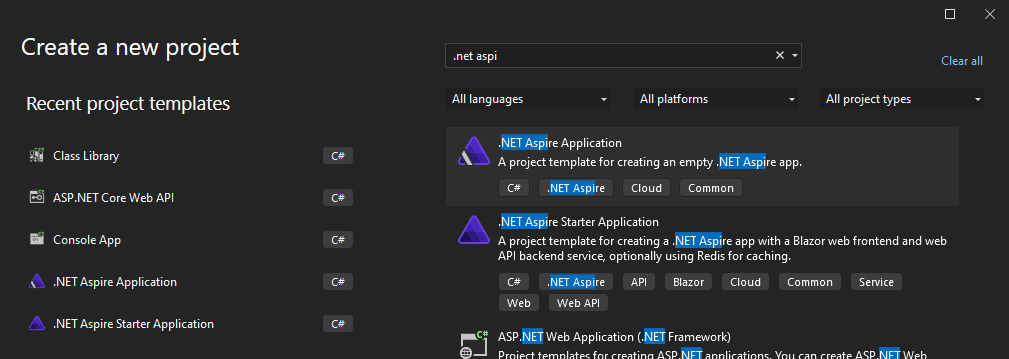
In Visual Studio 2022 Preview create a new project using the empty .NET Aspire Application template. While doing so you’ll be asked to select a solution name, location and framework (.NET 8 Long Term Support).
This will give you a basic .NET Aspire setup with an AppHost and a ServiceDefaults project.
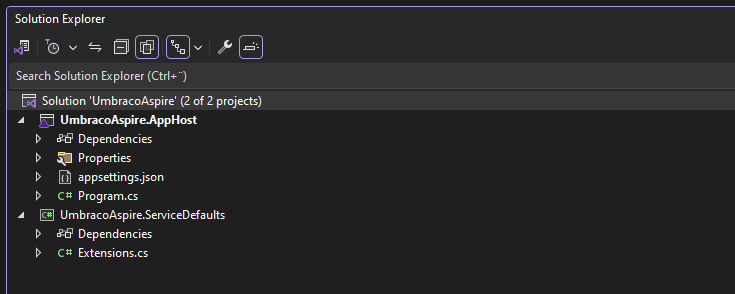
Again, I’m not going to go into much details about these projects but rather recommend that you read the official Microsoft documentation: https://learn.microsoft.com/en-us/dotnet/aspire/
Step 2: Create an Umbraco application
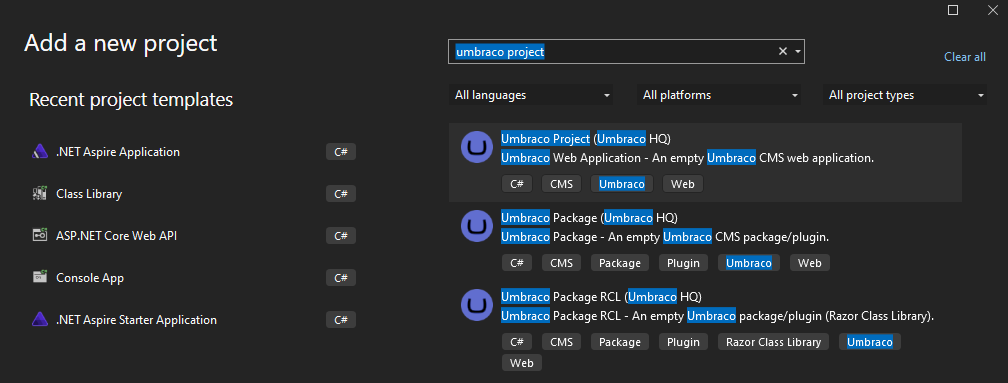
In this new solution, add a new project using the Umbraco Web Application template. Make sure you select Framework .NET 8.0 and Umbraco version 13.0.0.
The other settings like Docker support, https redirect, database type etc are optional and may vary on your project needs.
Step 3: Install Umbraco CMS
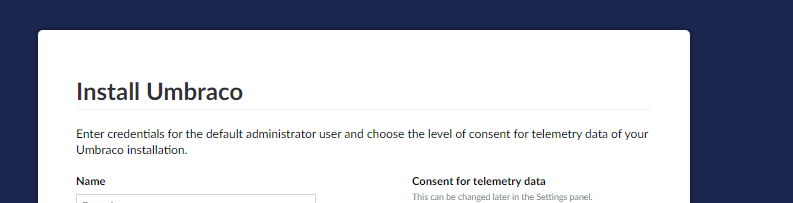
Before we connect Umbraco to .NET Aspire we want to make sure we have everything up and running. Set your Umbraco application as a startup project and run the project in your browser and step through the installation process according to your demands. Note that this step is not necessary if you created your Umbraco installation using an unattended install.
Disclaimer: You can do this step later once you have connected your project to .NET Aspire but I prefer doing it now to make sure I have a fully working Umbraco project before blending in Aspire, in case any issues would emerge then at least I can rule out any installation issues.
Step 4: Add ServiceDefaults to Umbraco.
From your Umbraco project add a reference to the .NET Aspire ServiceDefaults project. This project will provide you with a bunch of useful extensions that will help you setup things like tracing, metrics, logging, endpoints, service discovery, health checks etc. In your Umbraco projects Program.cs you need to add this line:
builder.AddServiceDefaults();
And right before you run the application make sure you add:
app.MapDefaultEndpoints();
Step 5: Add Umbraco to Aspire AppHost
Now let's connect the dots! From your Aspire AppHost application add a reference to your Umbraco project, and in the Program.cs file connect the Umbraco project to the builder using this line:
builder.AddProject<Projects.UmbracoAspire_Cms>("cms");
Now set your AppHost as the default startup application and run this application in your browser.
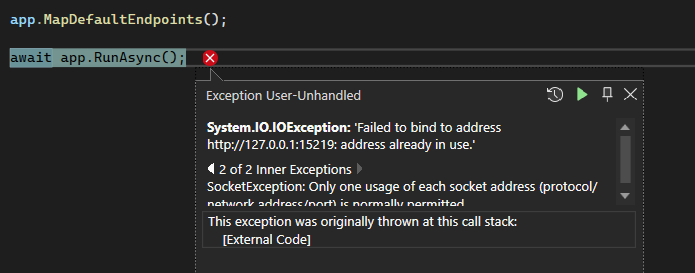
Known issue: 💥
When you set up your Aspire AppHost you automatically get a launchSettings.json which has an applicationUrl set to something like localhost:xxxx. And when you install your Umbraco project you get another launchSettings.json for the Umbraco project which has another applicationUrl ex. localhost:yyyy. For some reason when starting the Aspire application Umbraco tries to run the Umbraco project using localhost:xxxx, which is the Aspire applications applicationUrl, instead of its own configured localhost:yyyy and this creates a conflict and Umbraco cannot boot. It seems like the Aspire applications launchSettings.json applicationUrl overrides Umbracos launchsettings.json applicationUrl.
Temporary fix: ✅
The way I fixed this was to remove the applicationUrl in launchSettings.json in the Aspire AppHost application and then VisualStudio will automatically assign a port number for the Aspire application and now the two projects will no longer conflict and Umbraco may boot using its own configured applicationUrl. This is probably not a long term hack and seeing how Umbraco 13 is still in RC and .NET Aspire still in Preview this will probably be resolved in the near future. But until then this hack works.
Step 6: Exploring the Aspire Dashboard
If everything goes well, which it should if you followed all the steps above, you will now get the brand new .NET Aspire Dashboard in your browser. You’ll also notice that you actually now have two running applications, your Aspire dashboard as well as your Umbraco project which can be accessed using the configured applicationUrl(s).
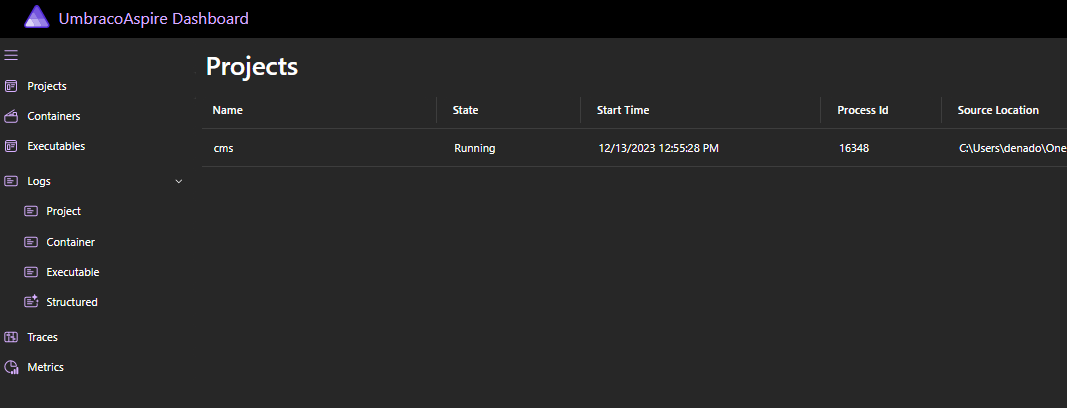
In the .NET Aspire Dashboard you can now explore things like environment variables, logs, running containers, tracing, metrics etc.

Bonus step: Adding another microservice to your Aspire solution
You can now go ahead and add a new .NET WebApi to your .NET Aspire solution, add the same Program.cs extensions (AddServiceDefaults + MapDefaultEndpoints) and connect this new api to Umbraco using the AppHost Program.cs. You do this by adding a reference between the two projects like such:
var api = builder.AddProject<Projects.UmbracoAspire_WebApi>("api");
builder.AddProject<Projects.UmbracoAspire_Cms>("cms").WithReference(api);
When this is done, Umbraco can now communicate with the WebApi without a direct reference between the two projects. This communication pipeline is handled by .NET Aspire.
As an example of this, in your Umbraco Program.cs file, add a HttpClient with a BaseAddress of http://api.

This will seem a bit odd at first glance, but this url will actually be replaced at runtime with the actual url of the running WebApi and you can now use this HttpClient in your Umbraco project to request the WebApi endpoints.

IMPORTANT:
Make sure you prefix api with the same prefix you used in the AppHost Program.cs file when connecting the WebApi to the Umbraco project.
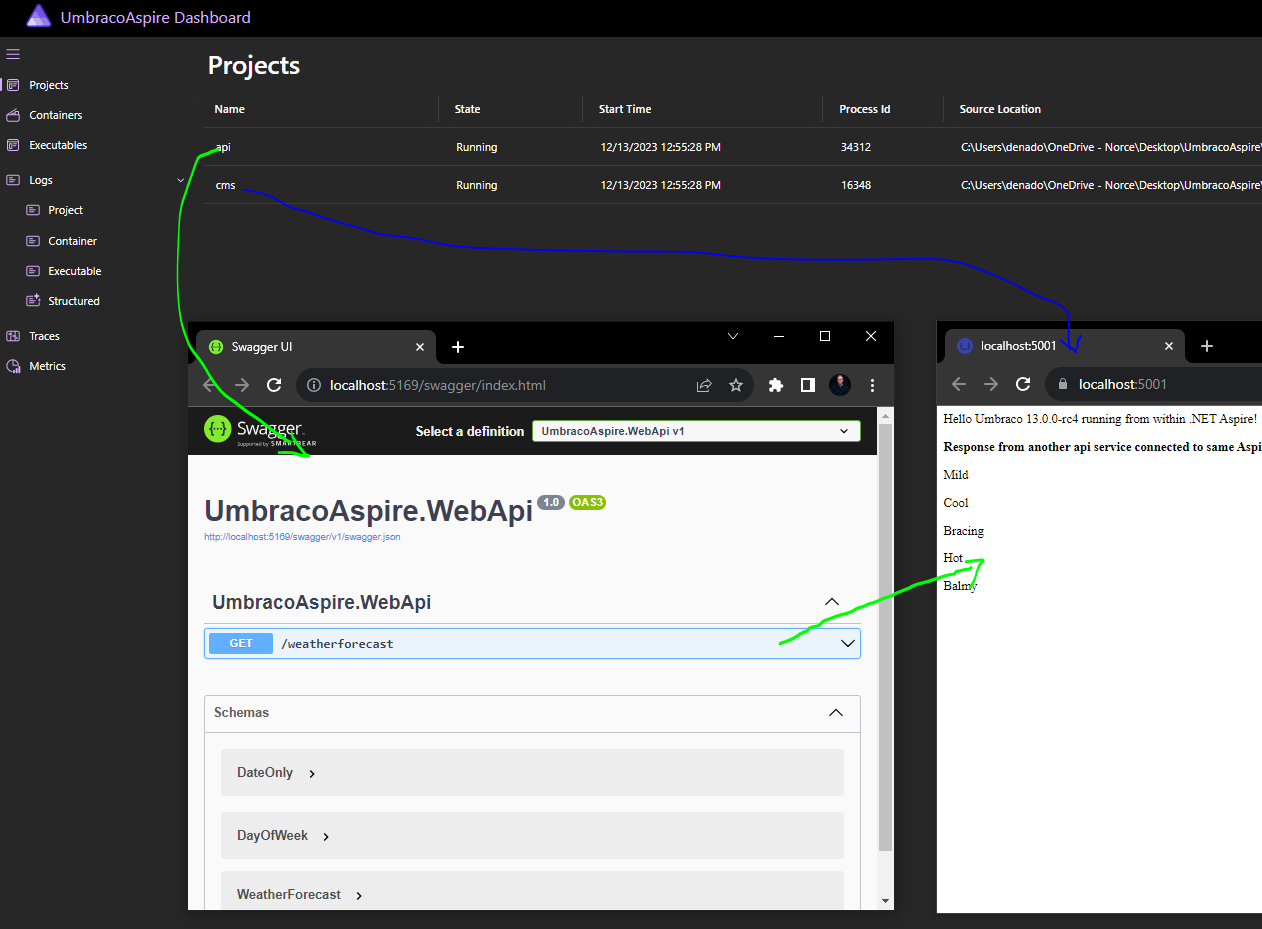
Now when you run the .NET Aspire application again you'll see two projects in the Dashboard and you’ll be able to view both applications logs, metric, tracing etc. from the same dashboard as well as communicating between the two application without a direct reference or having to specify any urls between the two apps.
That's all folks! 🖐
Hope this tutorial may be useful for anyone starting out exploring Umbraco with .NET Aspire and that it may speed up your initial process.
Cheers friends! 💜