How to setup your own locally-hosted, private and completely free Chat GPT using Foundry Local and Open-WebUI
In my recent article, AI is coming home with Foundry Local, I walked through how incredibly smooth it is to download and run powerful LLM's directly on your own local machine using Microsoft's Foundry Local. In that article I demonstrated how we can spin up an interactive chat experience in our terminal, which is cool for us developers I guess, but perhaps not a very sexy user experience.
Did I just say that Terminals are not sexy?
Who have I become? 😱
In this follow-up article, we'll take our local foundry model and connect it to a slick and functional interface to create a completely private, free, and lightning-fast "ChatGPT" experience.
And the best part? It's almost ridiculously easy. We'll be using Open-WebUI, a fantastic open-source project that provides an interface very similar to what we're used to from other commercial AI chat services.
Before you begin! ✋🏻
I'm assuming you've followed the guide in my previous article.
This means you should have:
Foundry Localinstalled.- A model downloaded, such as
phi-3.5-mini. - Your local model running using
foundry service start. - You'll also need
Python 3.11or higher installed.
If you have all this in place, you're ready to go. If not, jump to the previous article and come back here when you're done.
Step 1: Install Open-WebUI
Installing Open-WebUI is a walk in the park, thanks to pip, which is a package installer for Python. Open your terminal and run the following command:
pip install open-webui
That's it! Open-WebUI is now installed and we're ready to spin up our new chat interface.
Step 2: Run Open-WebUI
Run this command in your terminal.
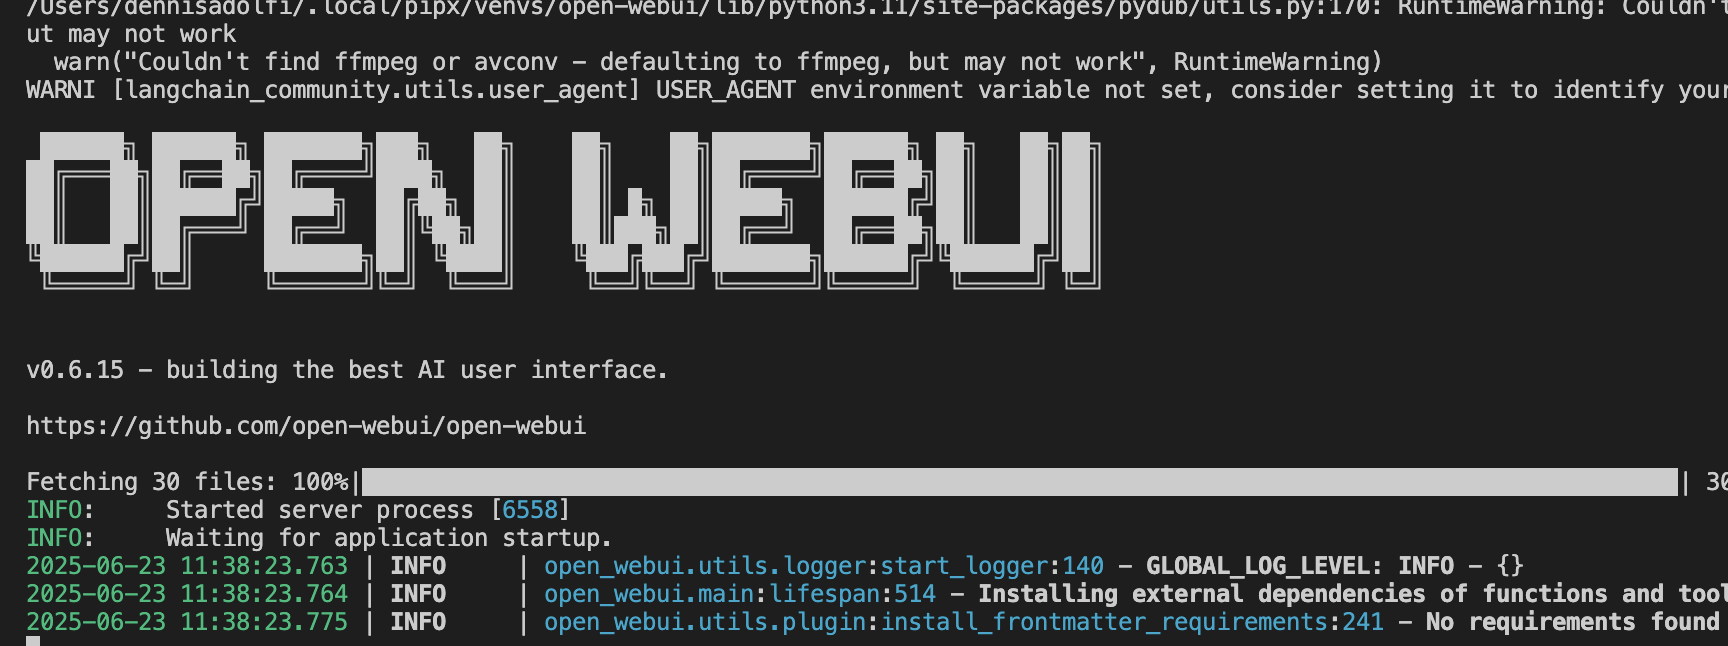
open-webui serve
Your terminal will fill with some text, and you should see that a web server has started. It usually becomes available at http://localhost:8080.
Open your web browser and navigate to that address. You'll be greeted by an interface asking you to create an initial admin account. Create your account, and you're in!
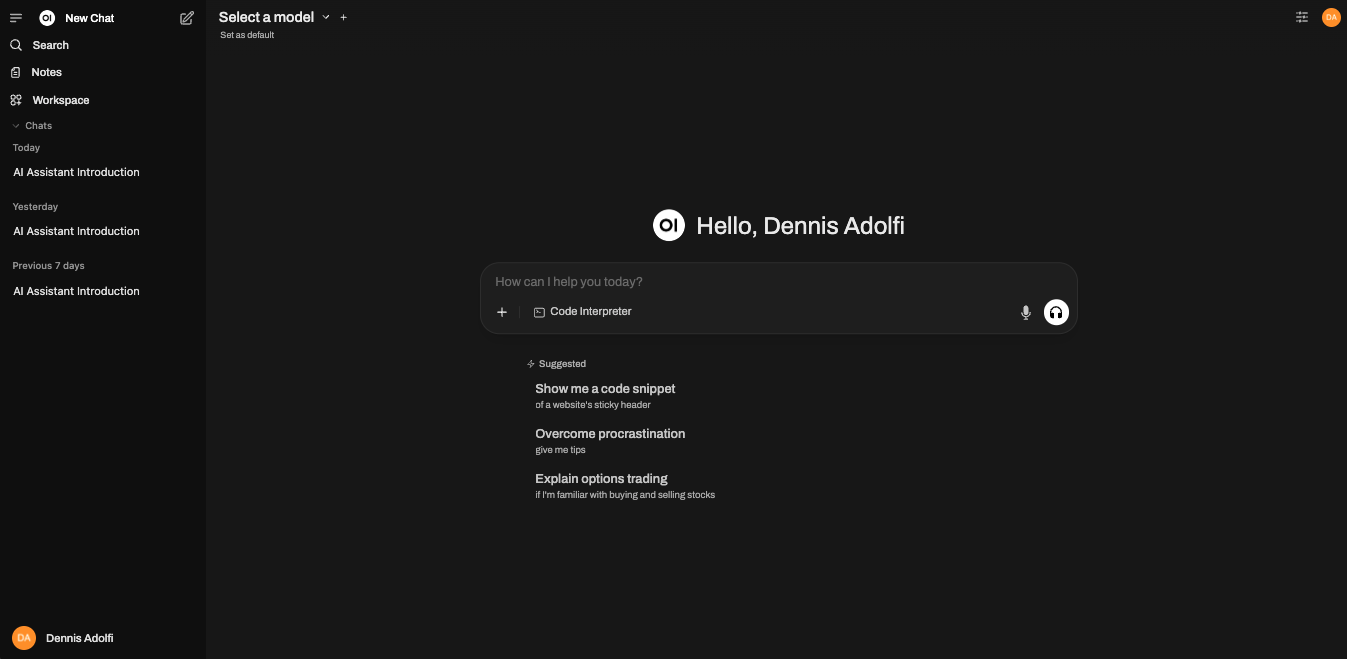
At the moment, you won't be able to chat with your local AI yet, since we haven't connected our local model.
Step 3: Connect Open-WebUI to Foundry Local
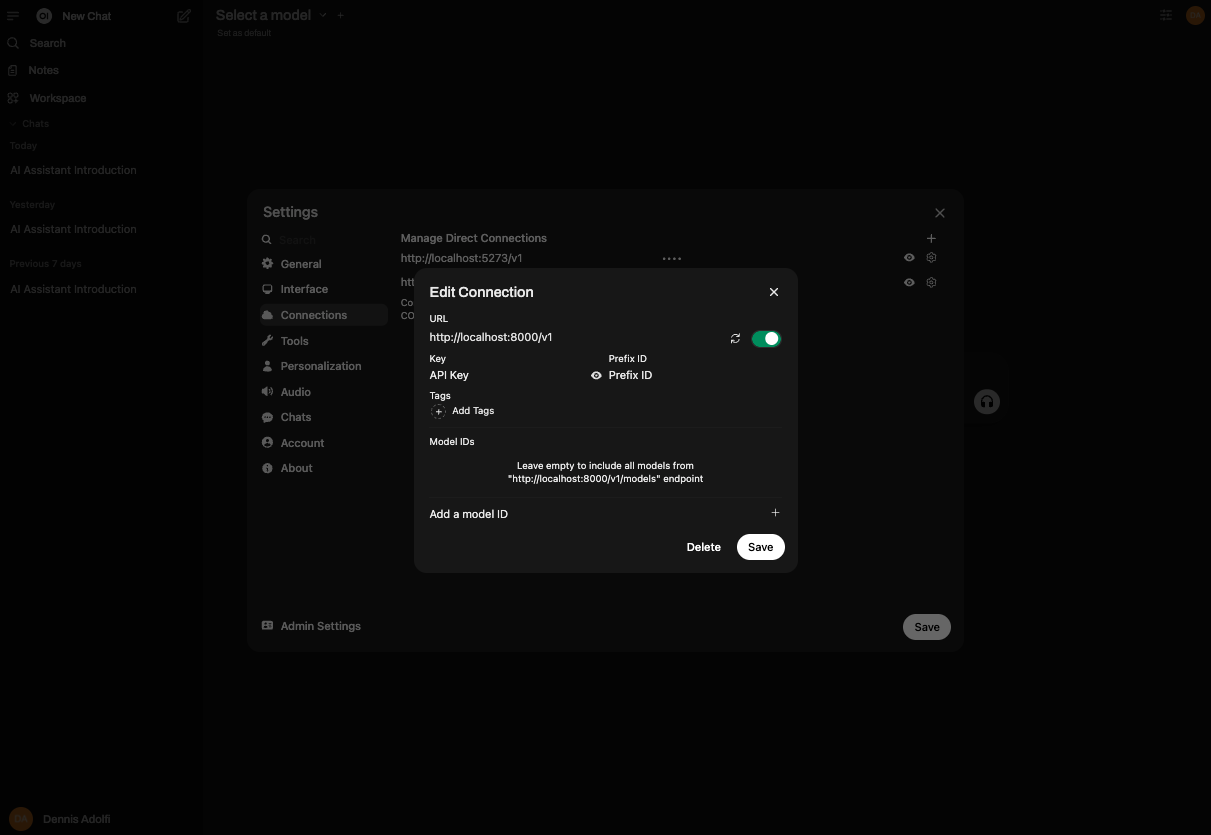
We need to tell Open-WebUI where to find our local LLM. By default, Foundry Local will serve the model at http://localhost:8000. In the Open-WebUI interface, click on the Settings icon i the upper-right corner.
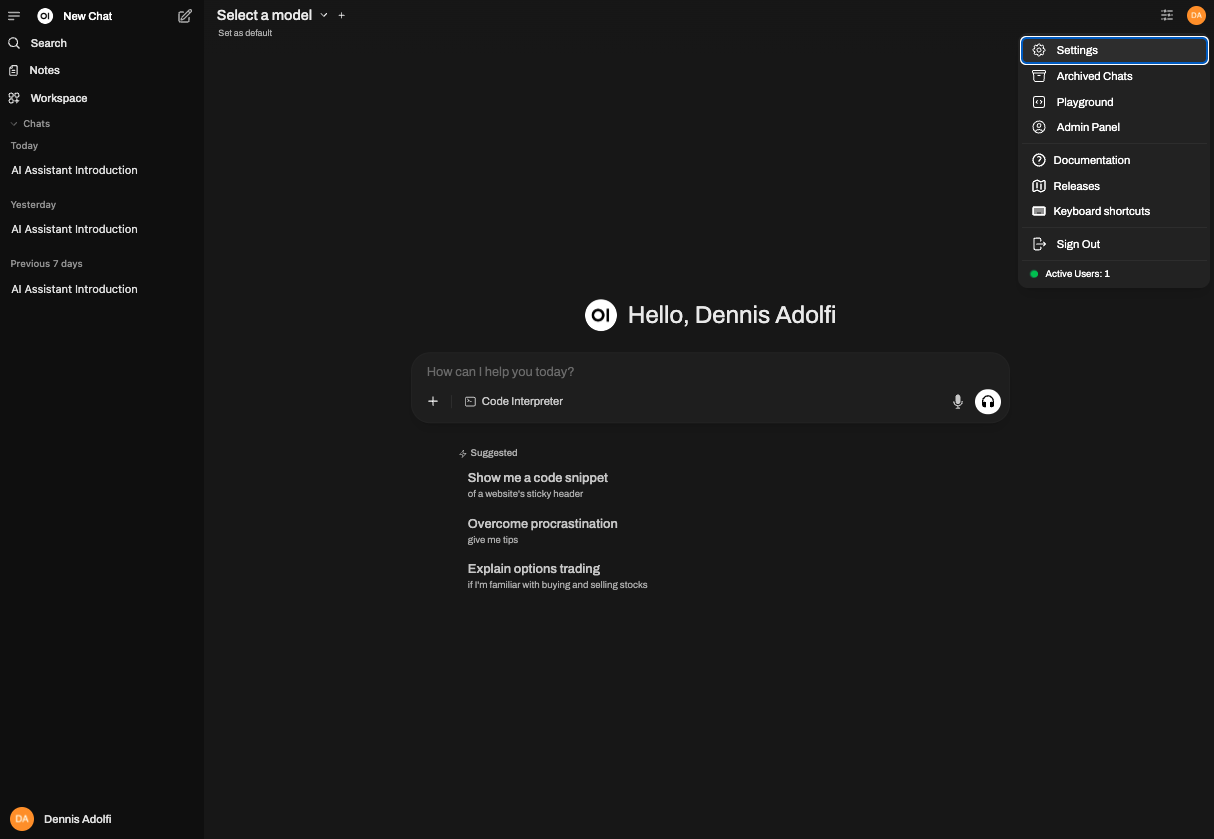
Next, select Connections and then Add connection. Fill in your Foundry Local address (http://localhost:8000) followed by /v1 which is the API version we'll be using for this model.
Note: You'll be asked to provide an API key, but since our local model doesn't require an API key you can just input whatever value in this field.
Everything else can be left empty and you can go ahead and Save.
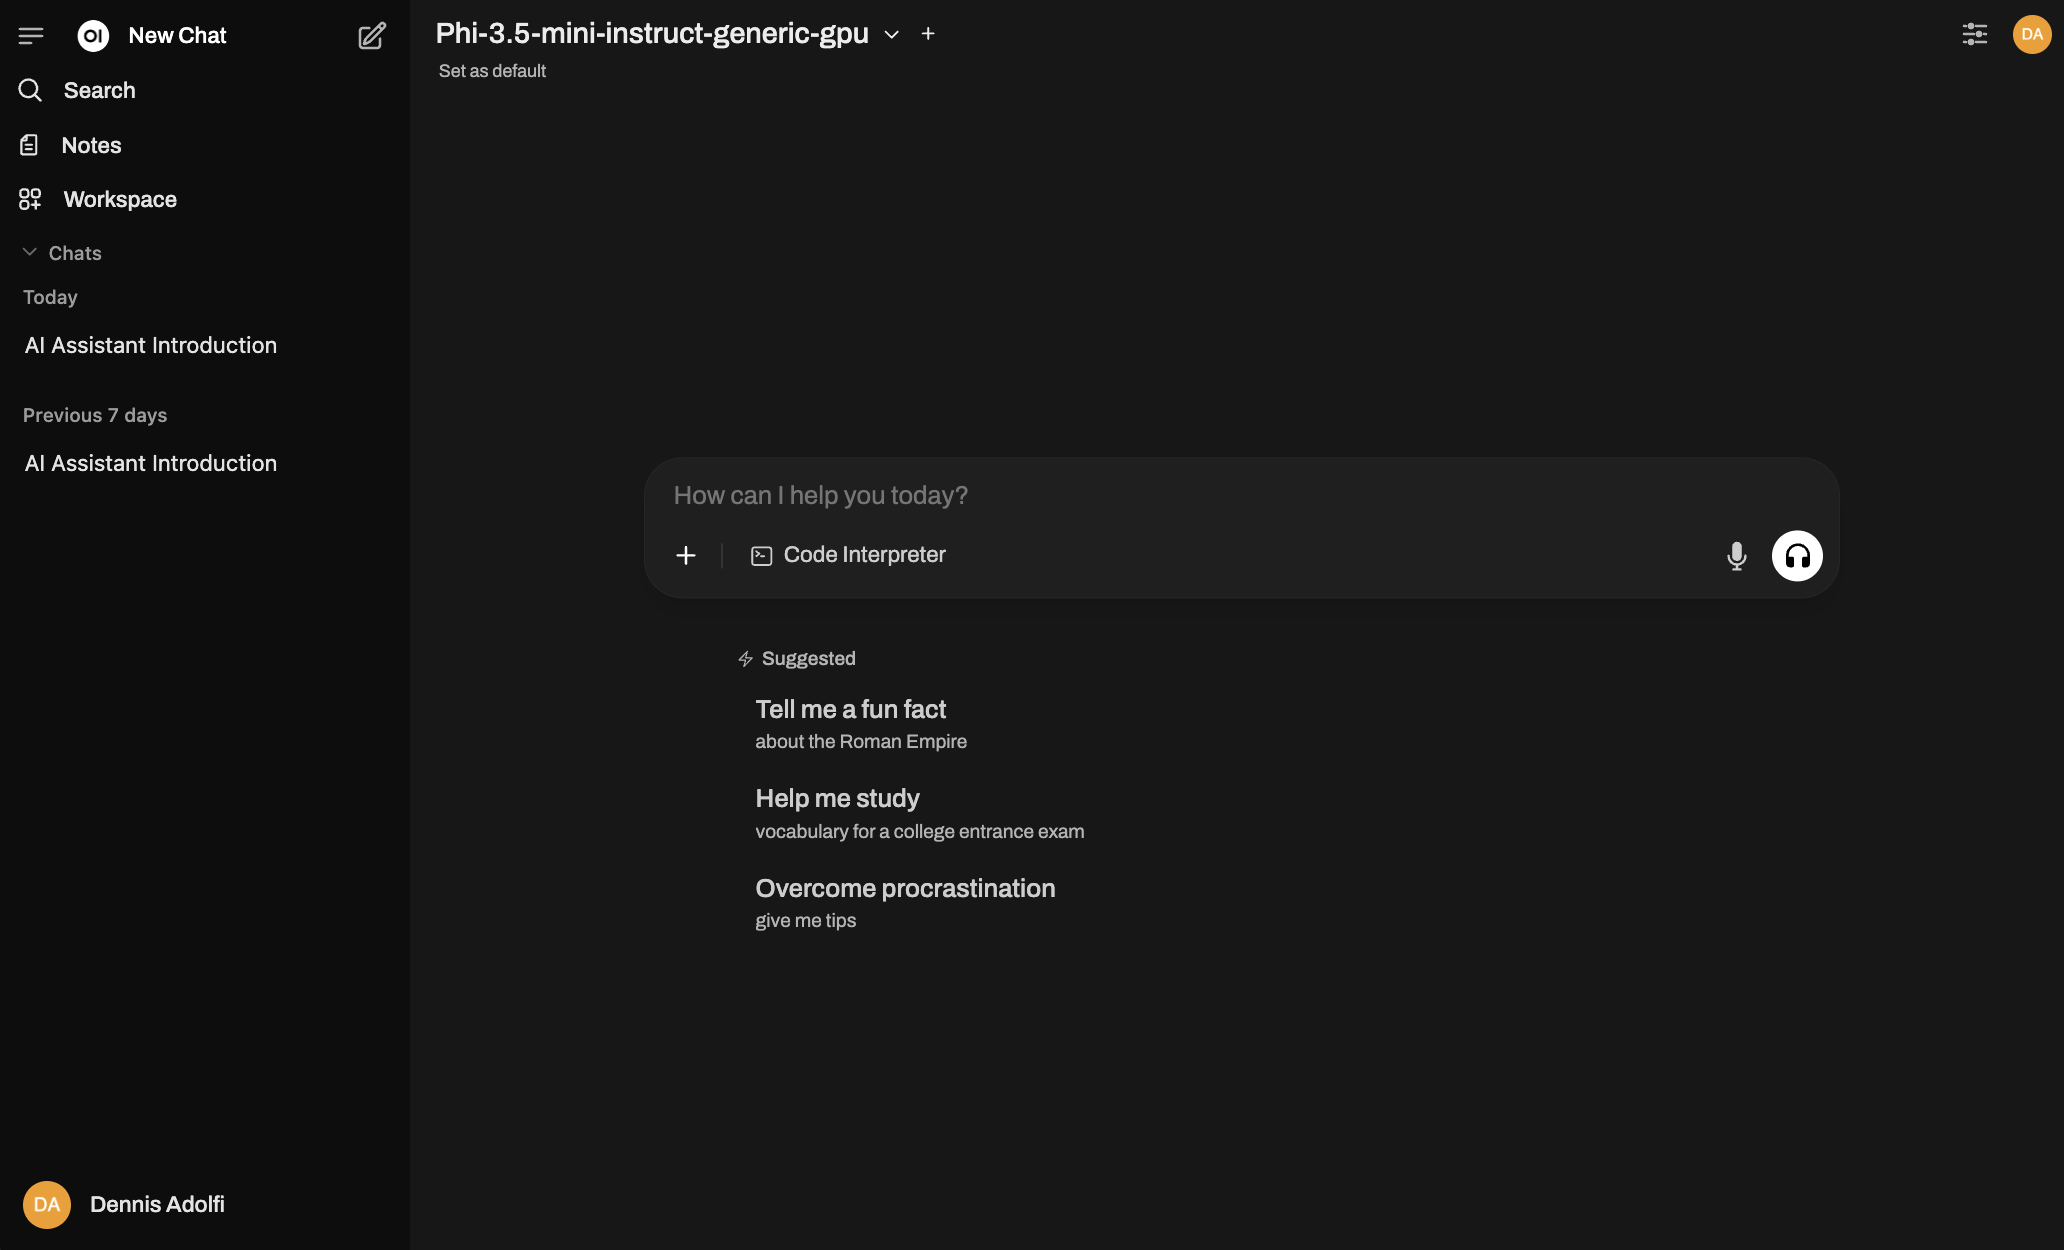
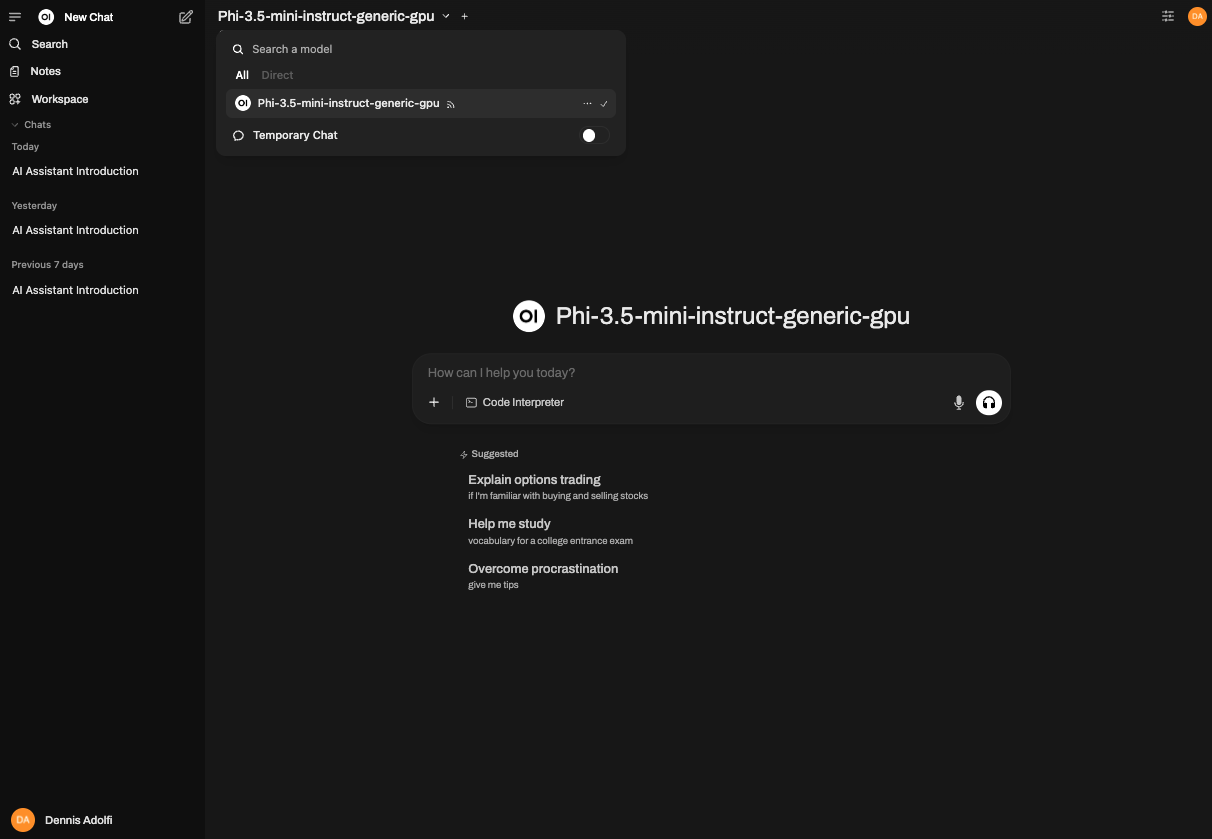
Voilá! Open-WebUI can now talk to your local model running via Foundry Local. Go back to the main page in Open-WebUI by clicking New Chat in the top menu. In the top of the screen, you'll see the text "Select a model" and you should see the model you are serving via Foundry Local in this list.
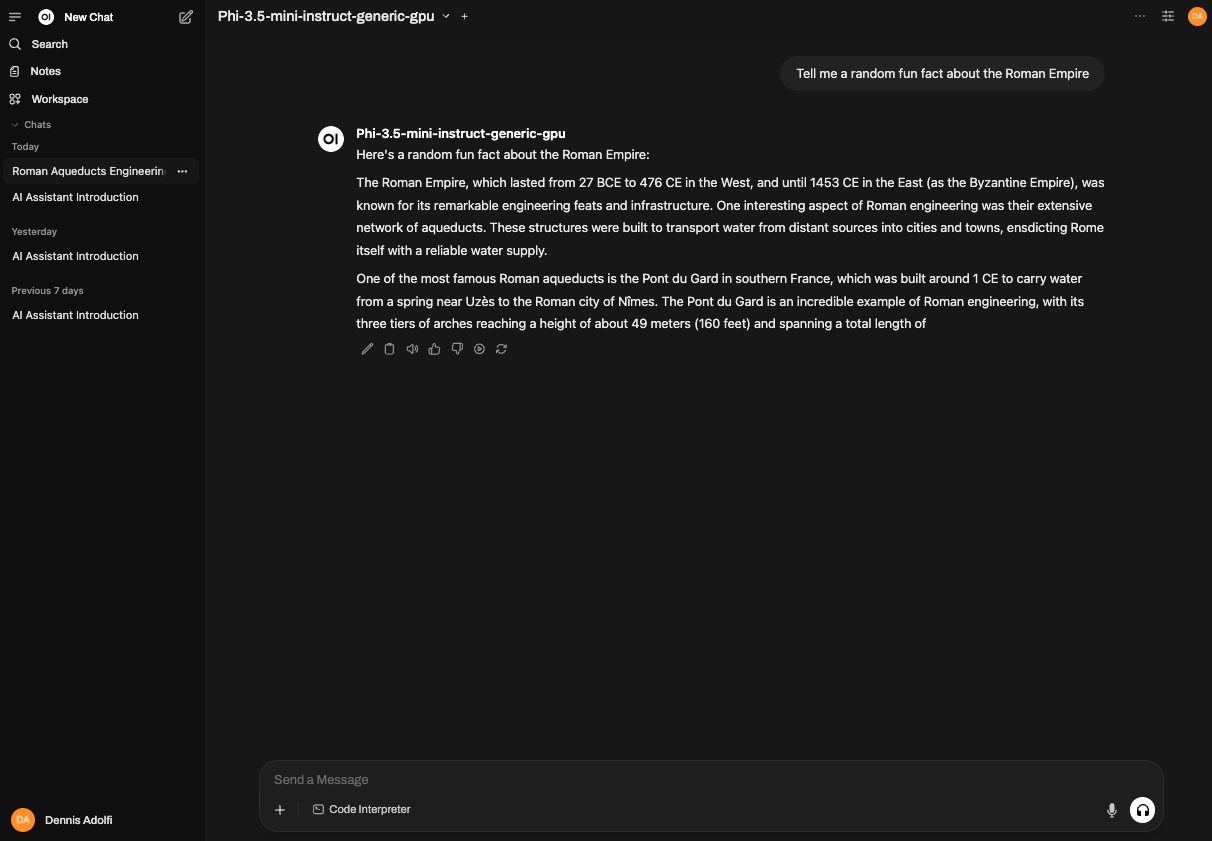
Now, just start chatting! Ask a question and see how quickly your local model responds, all without any data ever leaving your computer.
Summary
In just a few minutes, we've gone from a pure terminal AI to a full-featured, local, and private chat experience by combining Foundry Local with the intuitive interface of Open-WebUI and built our very own "ChatGPT". Now you can experiment, ask questions, and use an LLM with complete privacy. Hope you enjoyed this tutorial style article.
Cheers! 💖